
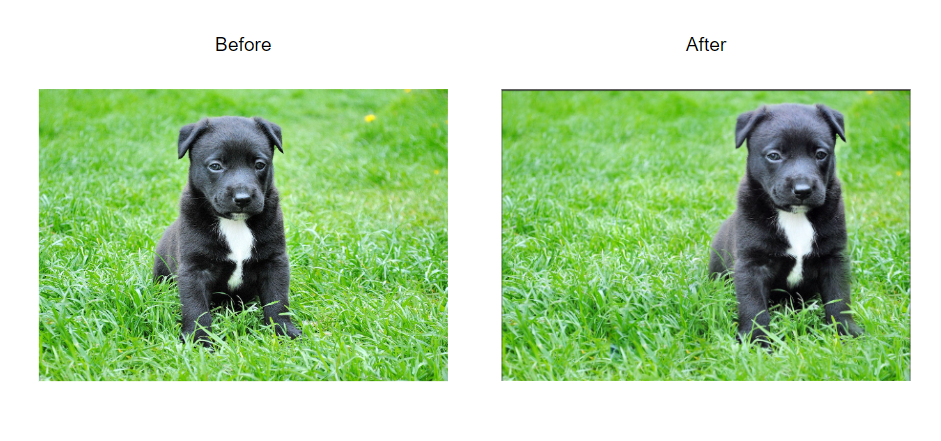
In this demo I will be showing you how to use the content aware move tool. This tool enables you to move your subject to your desired location in the photo.
I will be using a photo from Pexels in this demo by Pixabay.
How to use Content-Aware tool
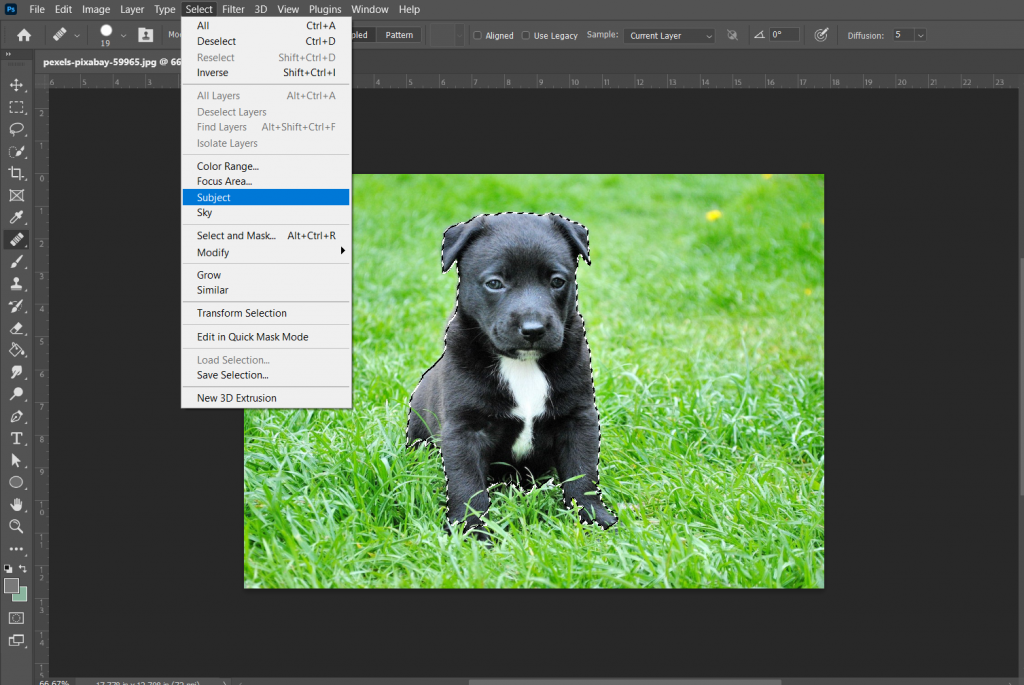
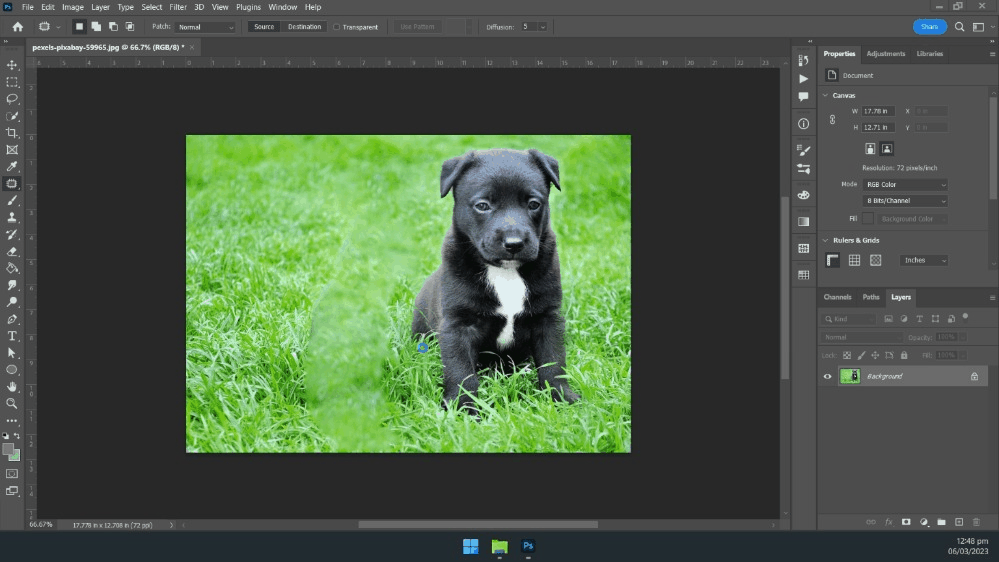
First import your photo and go to Select>Subject. This will automatically create a selection to your subject.
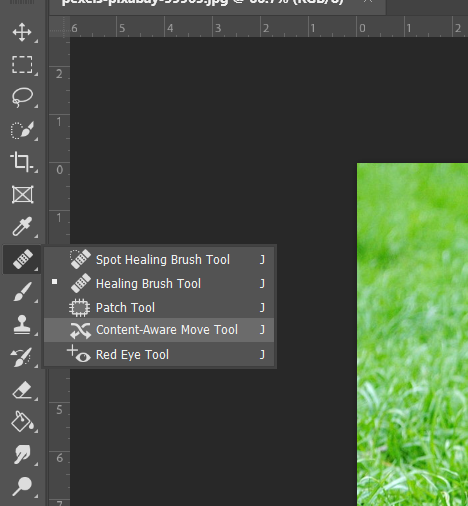
To find the content-aware tool, find the patch tool or healing tool on the toolbar and right click to expose the tool.
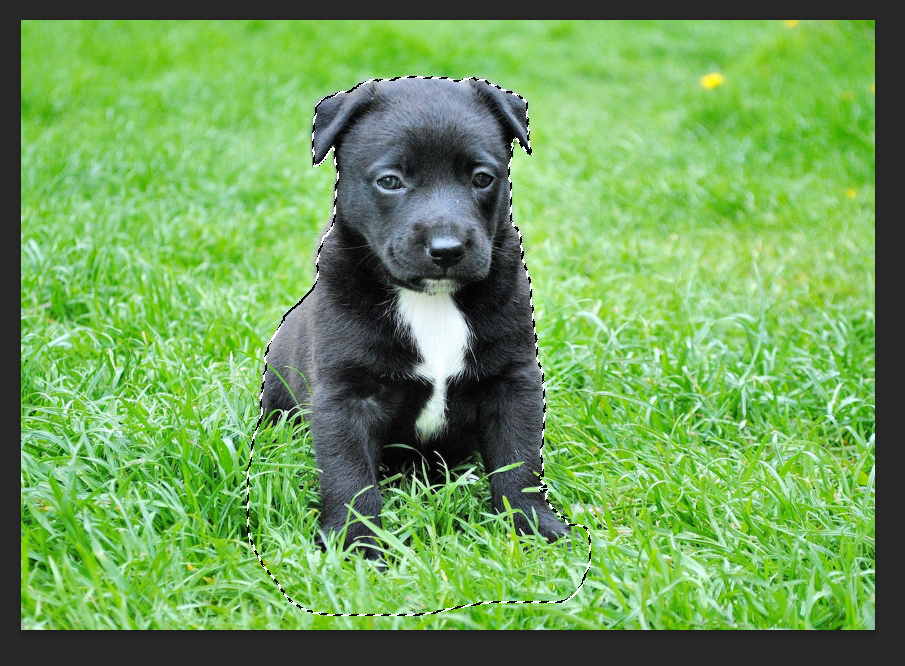
Grab the content aware move tool and now we will extend the selection under the dog to preserve some details under it. To do this hold shift while using the content aware move tool.
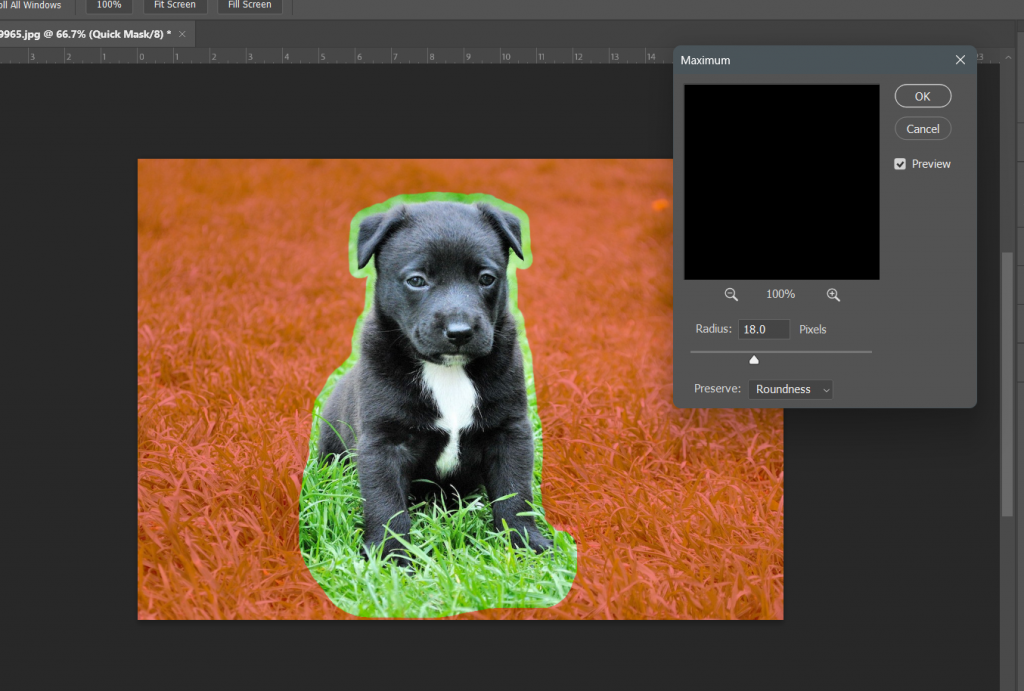
Next, press Q on your key board to isolate to the selection using a quick mask then go to Filter>Other>Maximum. Make sure that the preserve is set to roundness and use any radius that is appropriate to your photo.
Click Q again to remove the quick mask. Now you can move the subject to wherever you like it to be. After moving hit enter to apply the displacement.
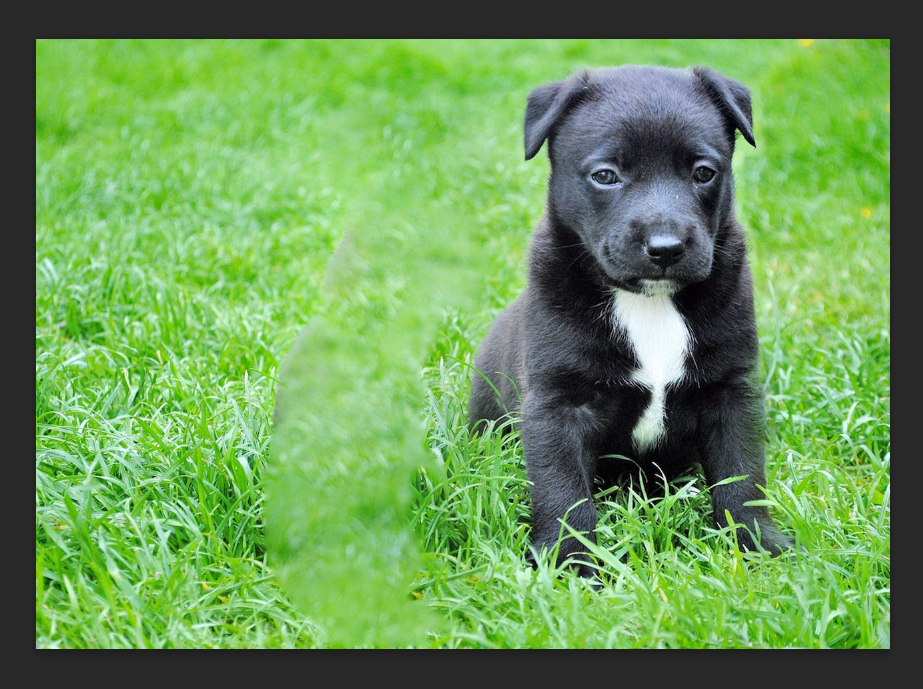
You might see some imperfection on the content fill but we have a fix for that. Garb the patch tool from the same toolbar of content aware move tool and mark the imperfect parts and just drag to the surface that matches well with it.
The result:

Conclusion:
And there you have it, that is how you move a subject in a photo using the content aware move tool. You can use this to displace objects in a photo to certain location. I hope this demo help you and enable you to incorporate this to your project. Remember to keep learning and stay creative.