
Photoshop is an editing tool that helps bring out the best of your photo. It enhances the appeal of your photo with its built in tools. But it can be intimidating at first if you are a beginner at photo editing and you dive right into photoshop.
The good thing is the user interface of photoshop is easy to learn and there are tons of resources online. You can find multiple step by step instructions on whatever you want to do with your photo. To learn more basics of Photoshop check this helpful video.
Going back to the focus of this article, we are going to explore color correction in photoshop using curves. Before we start lets find out what is Curves adjustment. It is defined as a powerful tool for color adjustments which lets you adjust exposure, brightness, contrast, white balance and create color effect to a photo. Read more here.
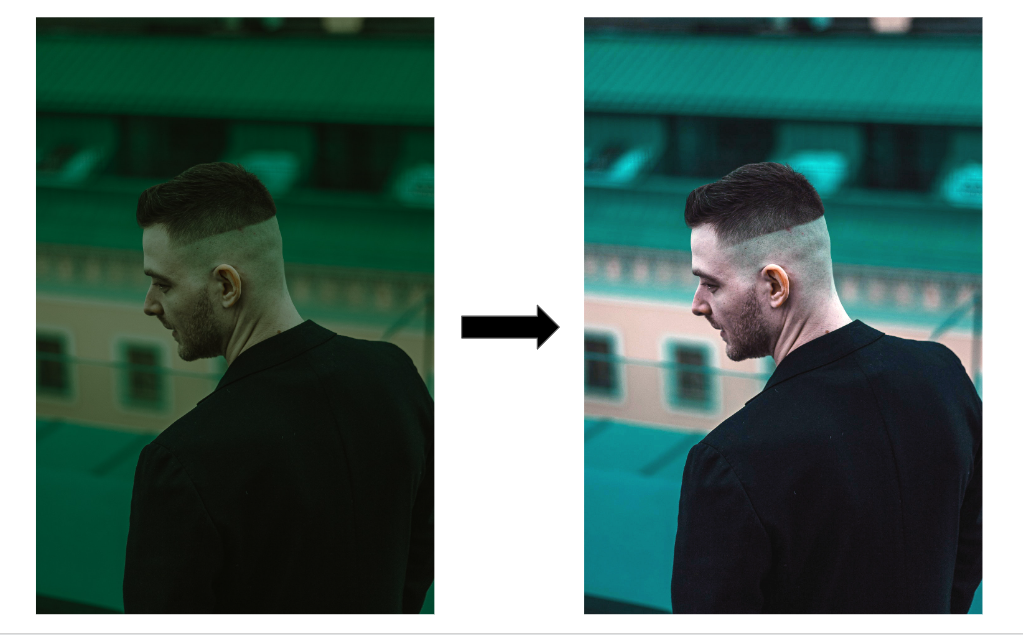
After knowing what curves adjustment can do, we can now start color correcting this sample photo from Pexels by Ruslan Rozanov. We will be adjusting the color of this photo by using a 3-point technique. Certainly, this technique will deal with adjusting the white, black and gray points of the photo to correct the color.
3-Point Color Correction in Photoshop
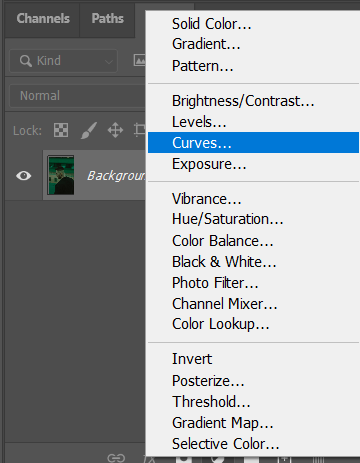
Step 1: Open your photo and create a curves adjustment layer.
Step 2: In the properties tab you will see a histogram. First we will locate the whites of the photo by adjusting the far most left arrow going to the right until you see the lightest part of the photo. This will be the reference for your white point. You can add a new layer and mark the the references.
Step 3: Revert the changes you have made in step 2 by sliding the arrow back to its original place. Next we will find the black point of the photo by sliding the far most right arrow going to the left. Mark your reference of the black point.
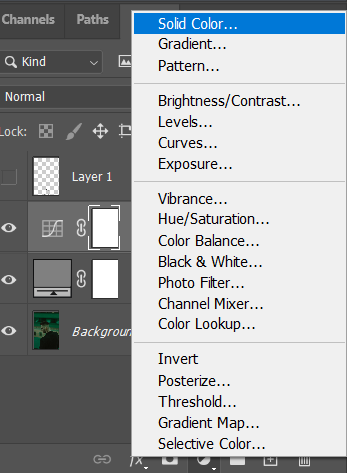
Step 4: Revert again the changes in step 3 and then we will find the gray point of the photo. Start by creating a solid color adjustment layer. Change its blend mode to difference and slide the white arrow from the curves layer to find the gray points. Mark the gray point for reference.
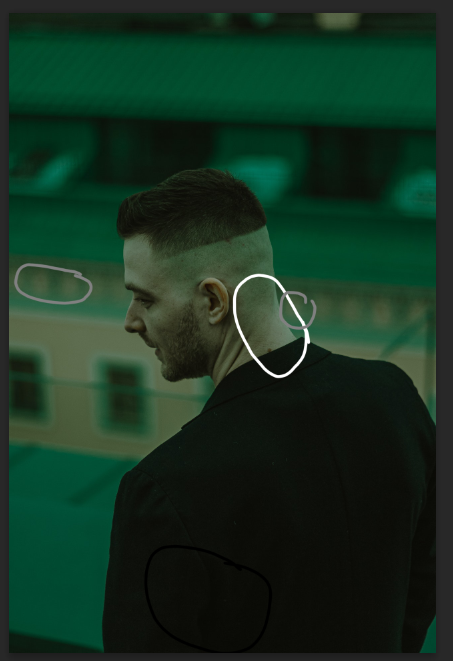
Step 5: Upon marking the reference point for gray you can now delete that layer and you should have a photo like this with reference marks for white, black and gray.
Step 6: Select the curves adjustment layer and we are ready to sample the 3 points to correct the color of the photo starting with white then black and lastly the gray point.
Note: You can adjust the histogram if some of the details of the photo are gone due to brightness and increase in shadow. And don’t forget to delete the reference marks layer.
If you followed this steps you will be ending up with this transformation.

Now you know how to color correct a photo using curves adjustment layer. You can bring this new knowledge to your photo and enhance them. Have fun, keep editing and be creative.
Go and check out the reference video for this step by step written tutorial right here: