
Windows 11 have a useful feature called the “Step Recorder” that allows the user to record actions on their computer, which can be helpful when you need to troubleshoot a problem or explain how to do something to someone else.
How to Use Step Recorder?
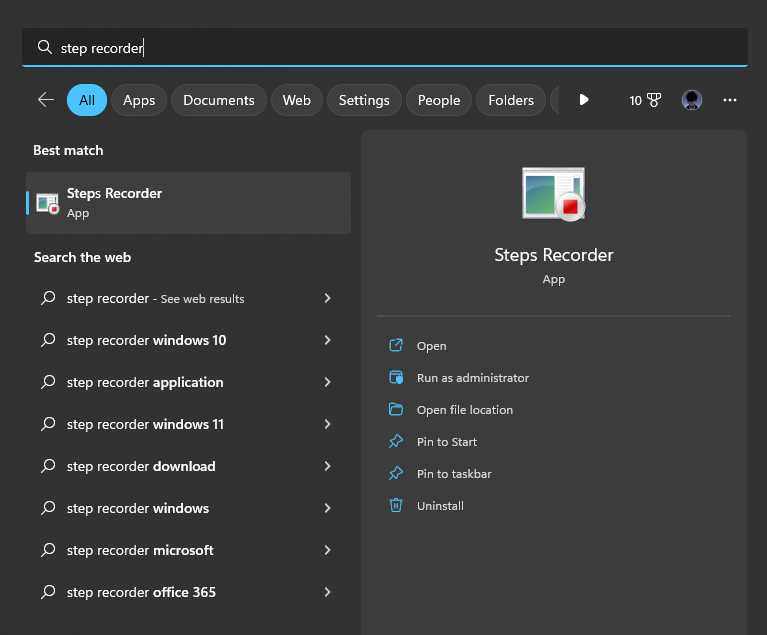
Step 1: Open the Step Recorder app
To open the Step Recorder app, click on the Start button and type “Step Recorder” in the search box. Click on the “Step Recorder” app from the search results to open it.
Step 2: Start Recording
Once the Step Recorder app is open, click on the “Start Record” button to begin recording your steps. You can now perform any actions on your computer that you want to record, such as opening a program, typing a message, or navigating to a website.

Step 3: Stop Recording
To stop recording, click on the “Stop Record” button in the Step Recorder app. You can also pause the recording if you need to take a break by clicking on the “Pause Record” button.


Step 4: Review and Save the Recording
After you stop recording, you will see a summary of the steps you recorded in the Step Recorder app. You can review the steps to make sure everything was recorded correctly. If you are happy with the recording, you can now document the tutorial or you can click on the “Save” button to save it as a .zip file. You can then share this file with someone else or keep it as a record of the steps you took.
Step Recorder in Windows 11 is straightforward and very easy to use. It is a useful tool for troubleshooting problems or demonstrating how to do something to someone else.