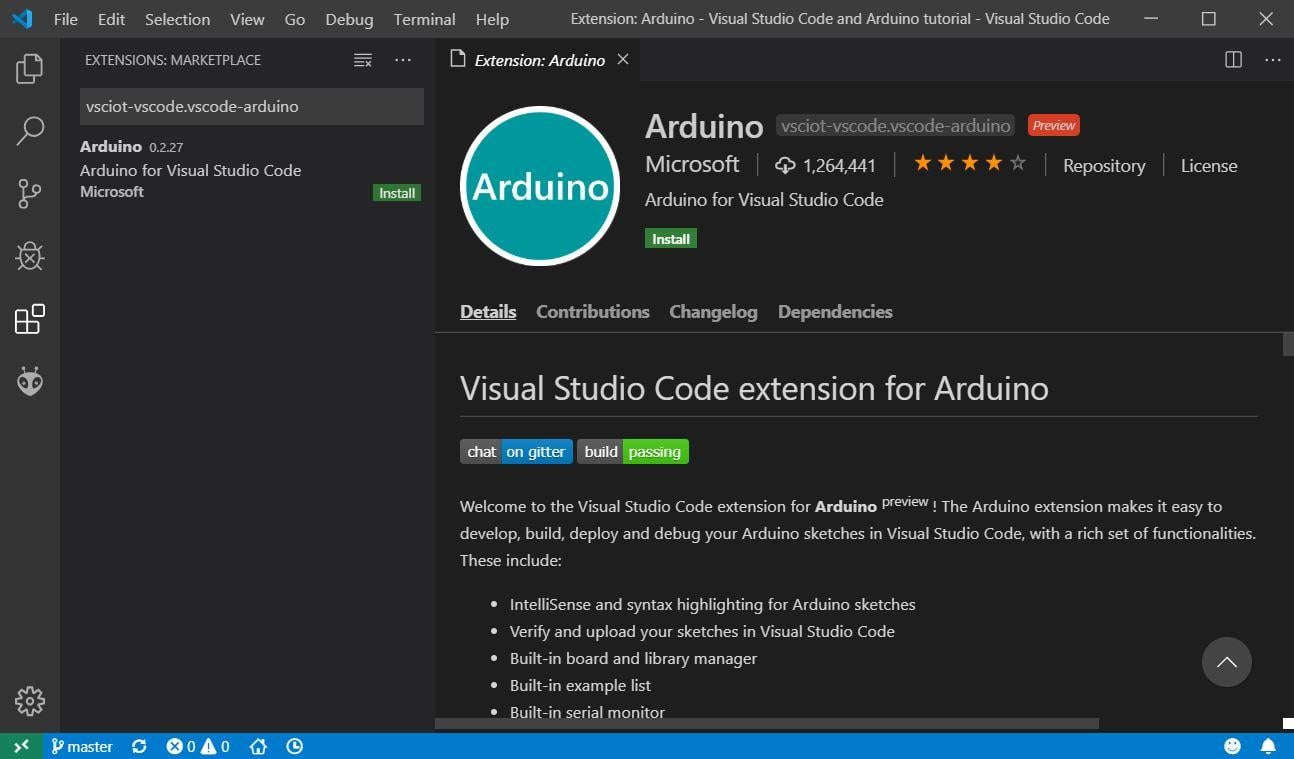
Using VSCode for Arduino:
- To install the Arduino extension, press
“Cntrl+Shift+x” to open the Extensions viewer and search for
“vscode-arduino.” This should only produce one result. To install,
click the “Install” button. - After installing the extension, connect an
Arduino Uno development board to a USB port on your computer and restart VS
Code to ensure that everything is properly installed. - To open the Command Palette, press
“Ctrl+Shift+p” to bring up a drop-down box where you can enter
commands. - If you receive a firewall message while running
Arduino commands, simply select “Allow Access” and continue. - When you open an Arduino.ino file, VS Code
switches to Arduino mode and provides access to special functionality in the
bottom blue margin. - Select AVR ISP from the Select Programmer>
drop-down menu (Arduino AVR Board) - Select Arduino/Genuino Uno from the Select Board
Type menu. - To configure the serial port through which VS
Code will communicate with your Arduino Uno, open the Command Palette
(Cntrl+Shift+p) and then type “Arduino Select Serial Port.” Then,
choose which USB port your Uno is connected to. - By clicking on the plug symbol on the blue line,
you can access the Serial Monitor. - This extension includes a package manager, which
makes installing external packages a breeze. Enter “Arduino package
manager” into the command palette. A new tab should appear with a list of
packages that can be installed by clicking a button. - In Arduino mode, VS Code provides a couple of
handy icons for code verification and uploading to your connected Arduino
board. These can be found in the upper right-hand corner. If you perform either
operation, a console window will appear at the bottom of VS Code informing you
of the outcome.
References:
https://maker.pro/arduino/tutorial/how-to-use-visual-studio-code-for-arduino
https://maker.pro/storage/DVg0WyQ/DVg0WyQosKGEWhE2i5hxG6MlJoRwBnViabYnj1lb.jpeg
