
OBS Studio is an open source software that offers a feature called a virtual camera, which allows you to use your recordings and live streams as a webcam source for video conferencing applications such as Google Meet, Microsoft Teams, Zoom, etc. With a virtual camera, you can add details on your virtual camera or any other custom elements to your video calls.
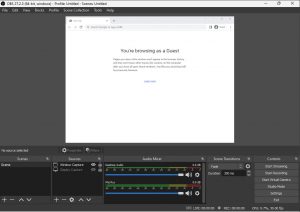
Step 1. Open OBS Studio
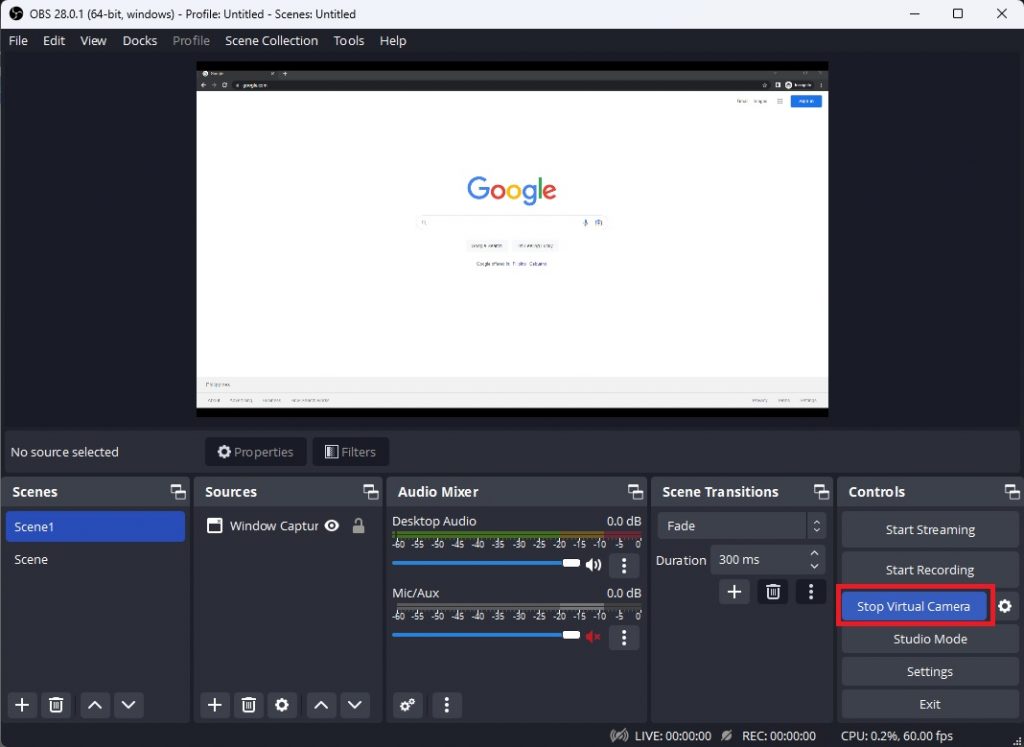
Step 2. Setup the display that you want to show in your virtual camera.
Step 3. Click the Start Virtual Camera.
Now after starting the virtual camera you need to go to your video conferencing application. In my case, I will open Google Meet.
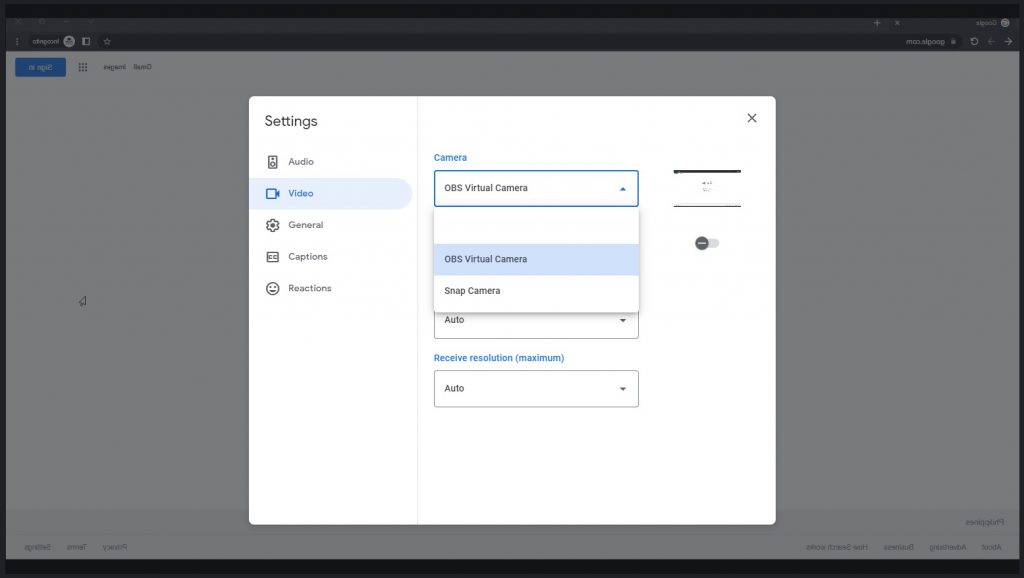
Step 4. Go to Settings.
Step 5. Select Video and look for Camera.
Step 6. Select OBS Studio Camera and press OK.
With OBS Studio’s Virtual Camera, you can add more details in your video calls and it provides a flexible and versatile solution for all your video needs.
If you don’t know how to capture specific window click the link down below for tutorial.