
Setting Up Your Flutter Playground
Ever wanted to test your Flutter app on a virtual device without needing a physical smartphone? This guide will teach you how to download and configure a virtual emulator for Flutter development in your VS Code environment. By following these steps, you’ll be able to run and test your apps on various simulated devices, ensuring a smooth development experience.
Downloading Flutter and Virtual Emulator For VS Code
- Download and install Flutter SDK in their official website
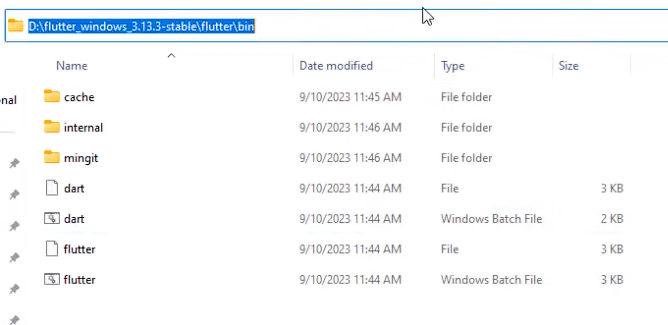
- After installing, go to its installation folder and head to bin and copy its path.
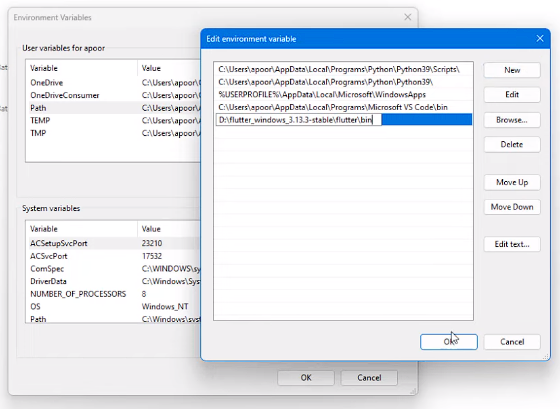
- Search for Edit environment variables for your account. After that, navigate in the Path/New, paste the bin file path, and click Ok.

- Open command prompt by searching it in the Start and type flutter doctor and it will show you the requirements that you still need to download.
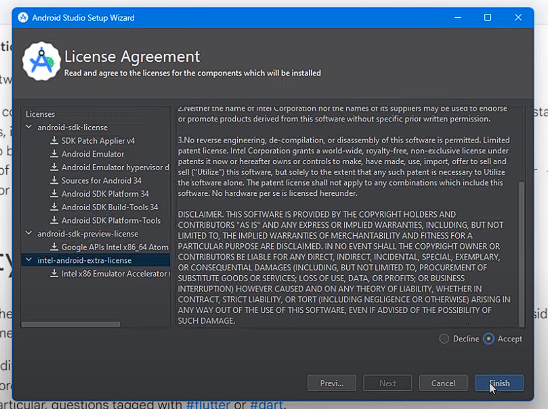
- Head to your preferred browser to download and install Android Studio. Accept the licenses showed in the photo and click finish.
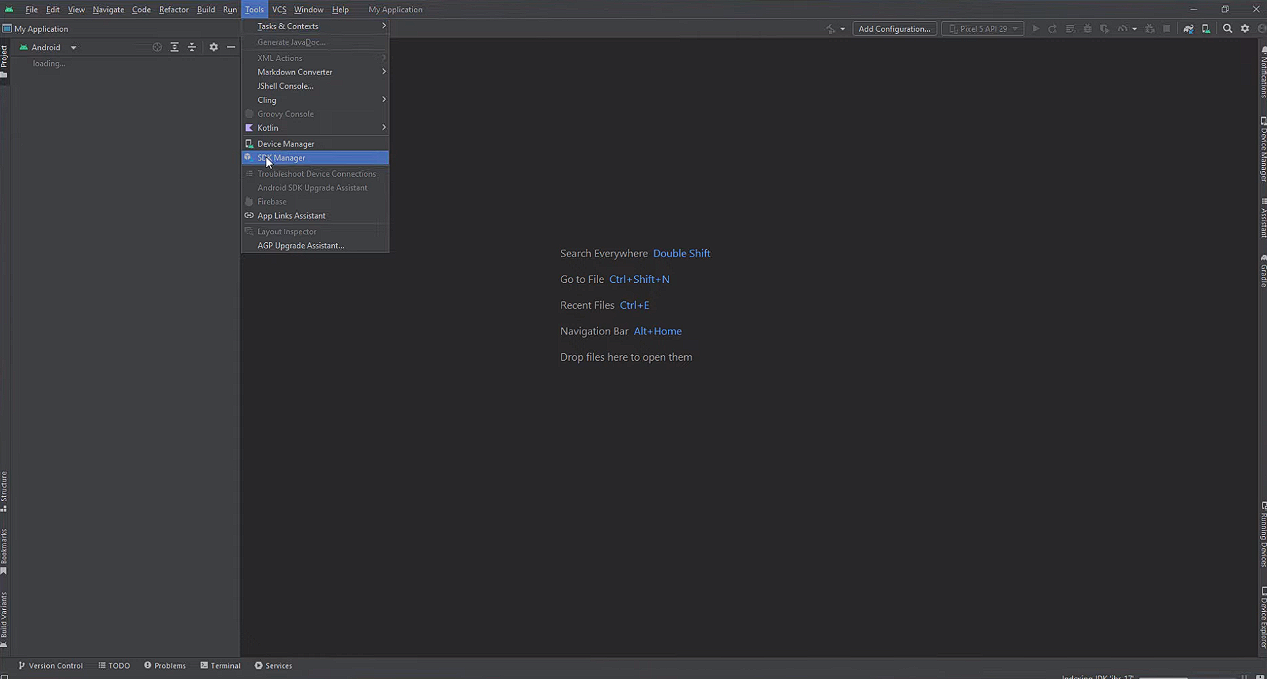
- Open an empty project and head to Tools/SDK Manager to download your emulator. Go to the SDK Tools and check Android SDK Command-line Tools(latest) and click apply
- After step 6, head to command prompt and type doctor –android-licenses. It will prompt a lot of licenses and type Y every time to accept.
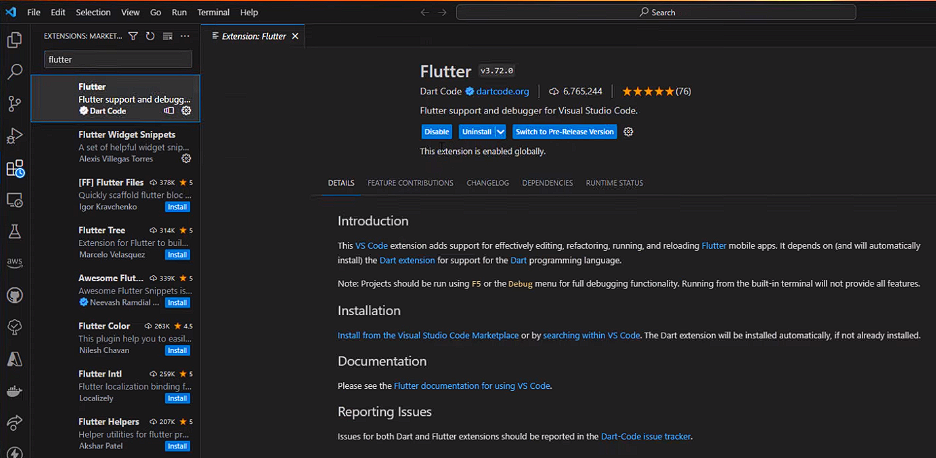
- Head to the VS Code extensions and download Flutter. After installation, create an empty Flutter project for the emulator that will be installed later.
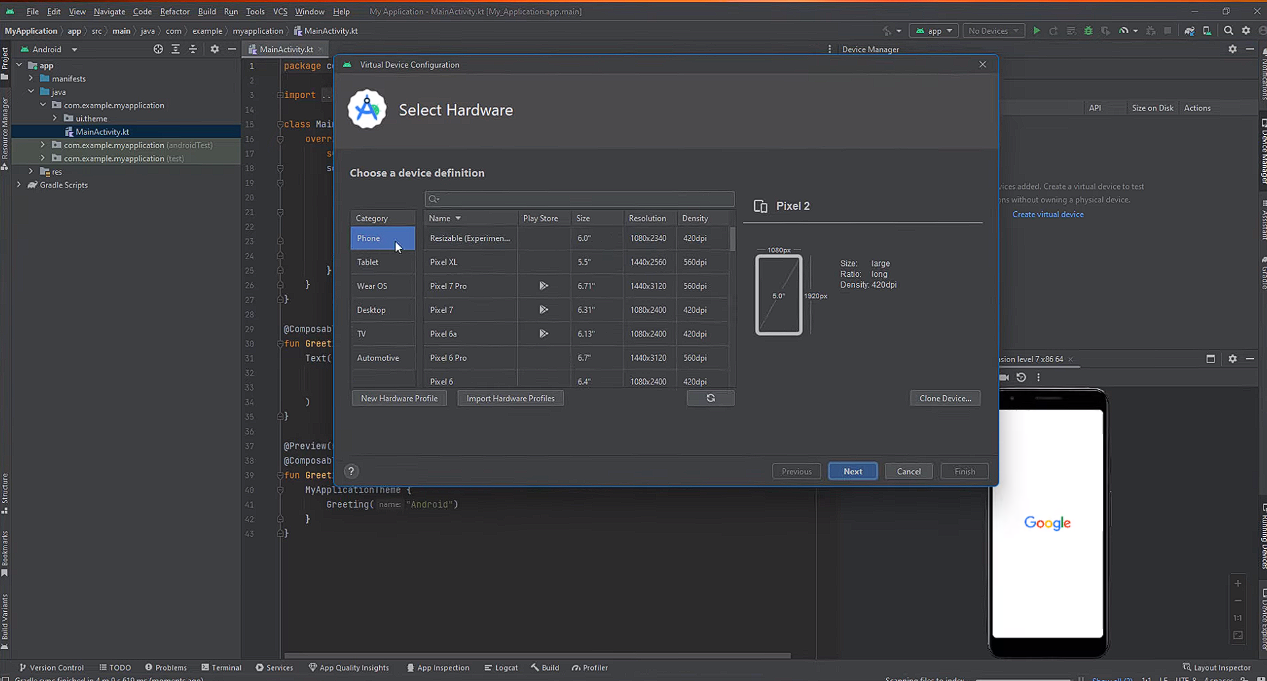
- Head to the empty project opened earlier in Android Studio and open the Device Manager in Tools/Device Manager. Click create device and select your preferred Android version and proceed to download.
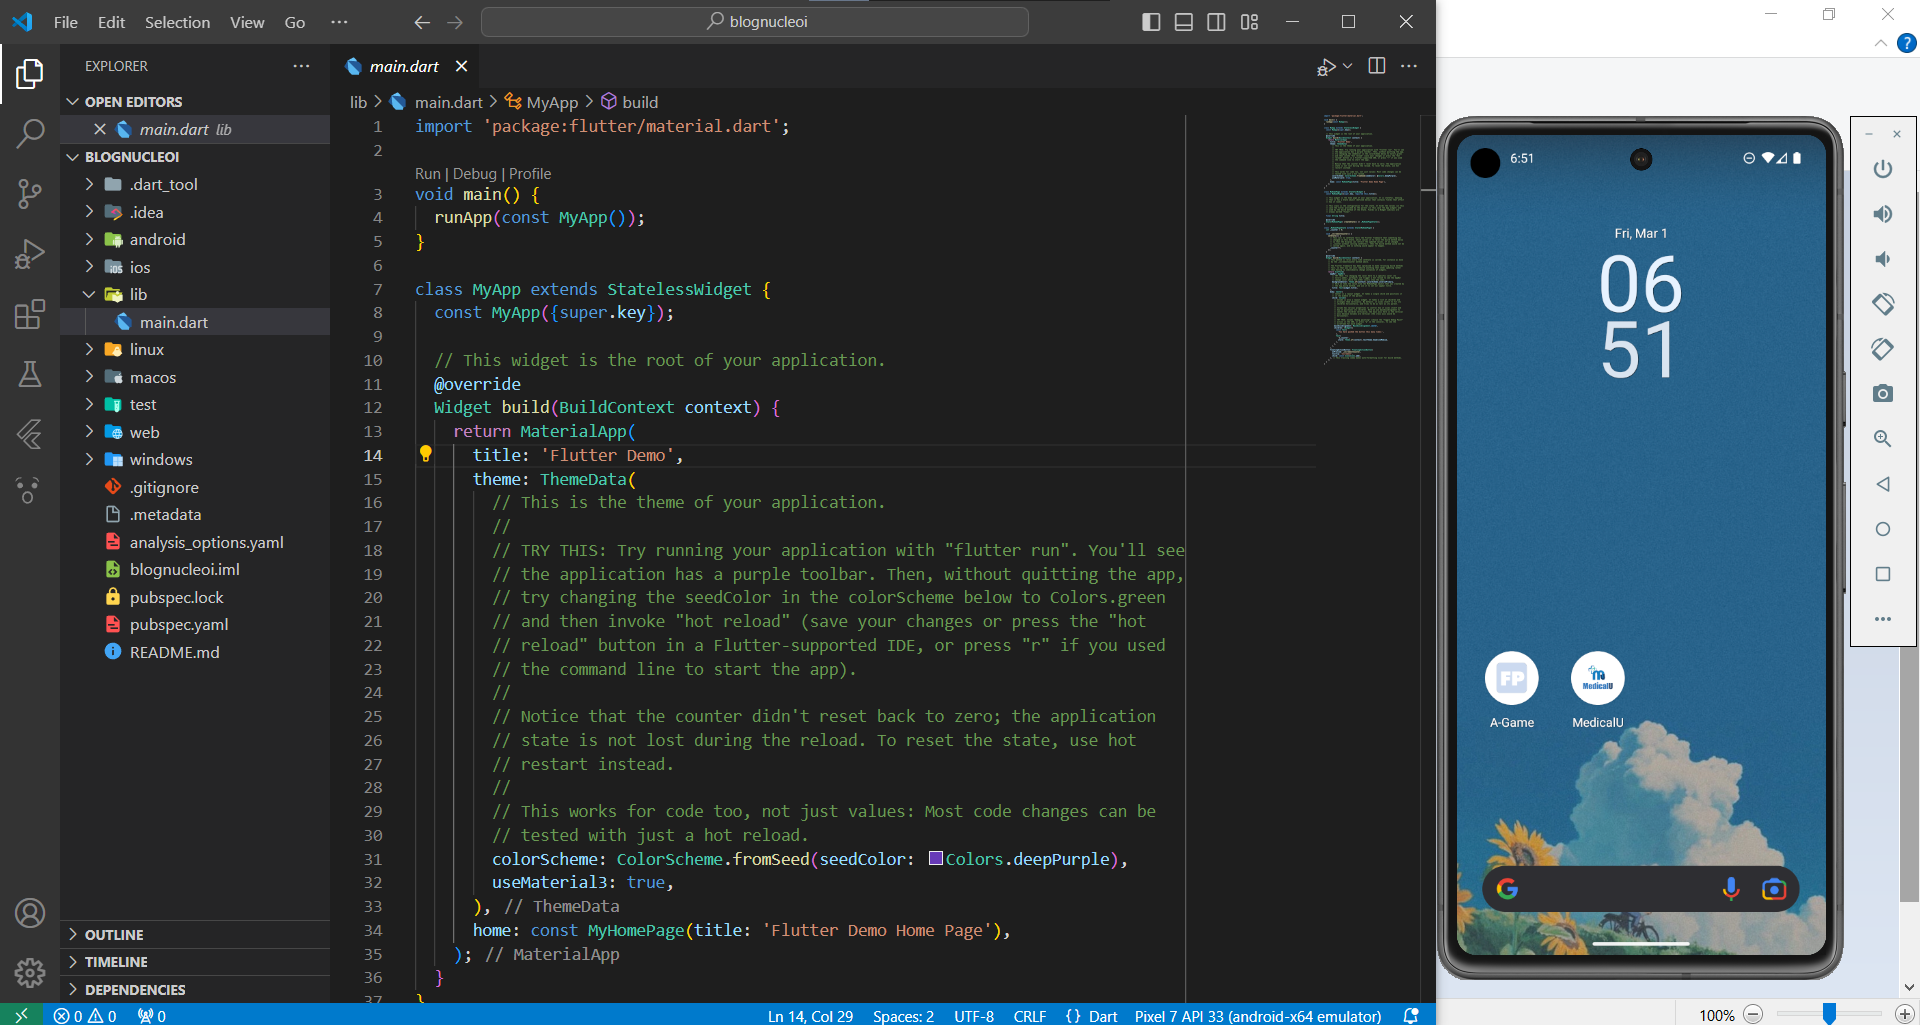
- Go to Android Studio’s settings/tools/emulator and uncheck “Launch in a tool window” to pop the emulator and click apply.
- Congratulations! You now have your own Android Emulator running in VS Code for efficient Flutter Development.
That’s it! You’re now all set to use a virtual emulator right within your VS Code environment for seamless Flutter development.