

The great thing about Google is that it provides everything you need to set up a signature in Gmail and create clean, professional-looking emails. The Gmail signature settings are easily accessible and offer numerous customization options once you know where to look.
To create an email signature in Gmail:
1. Open Gmail.
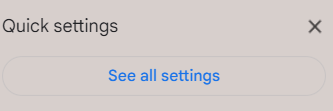
2. Click on the ⚙️Gear icon in the top right corner for Quick Settings, then click on “See all settings” to open the full settings menu.
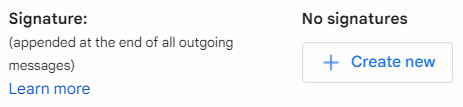
3. Scroll down the General Settings tab until you find the Signature settings section and click on “Create new” to create a signature.
4. Give a name to the Gmail signature template you are about to create in the Name new signature popup window that appears and then click “Create”.
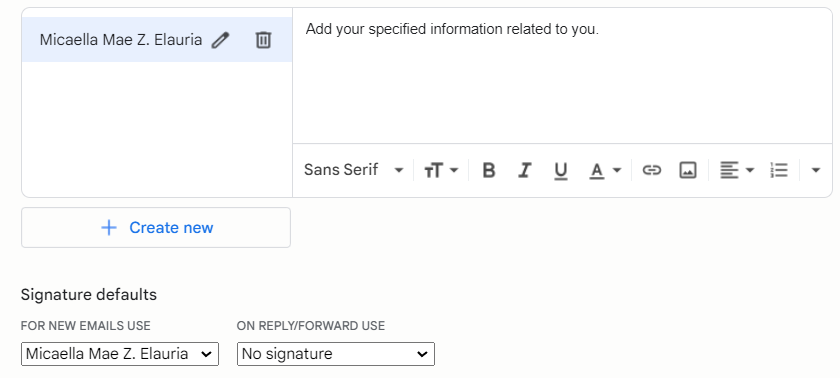
5. Create your new email signature for Gmail using the Gmail signature editor by adding your signature text, customizing the formatting and adding an image, if desired.
6. Select any desired automatic Gmail signature settings for new messages and forward/reply messages below the editor using the “Signature defaults” options.
7. Scroll to the bottom of the General Settings tab and click on Save Changes to save your new signature and its settings.
Sample Output:

By following the simple steps outlined in this guide, you can effortlessly create a signature that reflects your personality, promotes your brand, and provides valuable contact information to recipients. It’s a pretty simple process to set up a Gmail signature. If you just need a no-frills template to hold your Gmail signature information.