
This blog post provides an in-depth guide on Gmail’s scheduling feature, covering enabling it, setting up delivery times and dates, and ensuring messages reach recipients when most likely.
Here are six steps To schedule an email in Gmail:
- Open Gmail and login
First, open Gmail in your web browser and log in with your username and password. You can accomplish this by typing the URL for Gmail into your search engine or by searching “Gmail” and clicking the correct link. Once you log into your Gmail account, you can access your inbox and all other relevant functions.
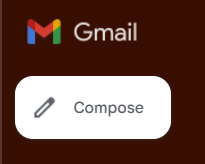
- Select “Compose an email” and write your email
To open a blank email, select the “Compose an email” button, which is near the top left corner of your screen. The “Compose an email” button is an icon of a red pencil. Before you schedule the email, it’s important to write your message and add a recipient. Type the email in the white text box and add your contacts into the “To” field.
- Press the drop-down arrow
After you’ve written your email, press the drop-down arrow, which is next to the ” Send” button on the bottom left corner of the window. The button is blue, and the arrow is a small white triangle. Try to ensure that you select the arrow instead of the “Send” button to avoid delivering the email too early.
- Click on the “Schedule send” option
Once you click the drop-down arrow, a small menu appears above it. Click on the “Schedule send” option, which has an icon of an arrow with a clock on it. This allows you to select a time and date to send your email.

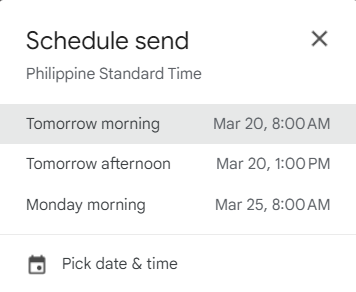
- Choose a time and date
Clicking “Schedule send” opens a window with three scheduling options: next morning, afternoon, or Monday morning. To customize the time and date, select “Pick date & time” at the bottom, allowing editing using a calendar or text boxes.
- Select the “Schedule send” button to confirm
Choose your preferred send time, confirm, and schedule your email. Confirm your choice by clicking the “Schedule send” button, or click “Cancel” to revert your scheduled email.

Gmail’s scheduling feature streamlines communication by sending emails at the perfect time, even when offline. Practice and explore to maximize efficiency and smooth email flow.