
Have you ever wished you could divide your hard disk in half? Perhaps you’d want to keep your personal and school files separate? It’s actually rather simple, and Windows has all of the required tools.
Partition is a logical separation of a hard drive in personal computers. This is usually done so that it would be beneficial to have the appearance of a separate hard drive for file management or numerous users on the same machine.
Here are the steps on how to partition a hard drive:
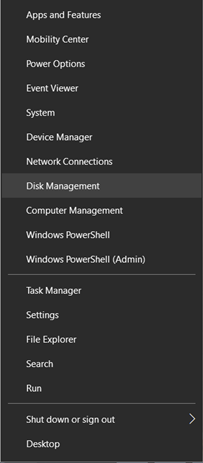
Step 1: Right click the Windows icon, then click Disk Management.
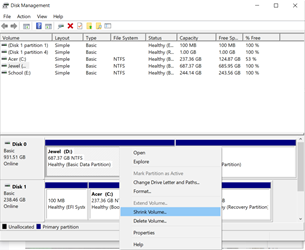
Step 2: Right-click the hard disk partition that you want to shrink, and select “Shrink Volume”.
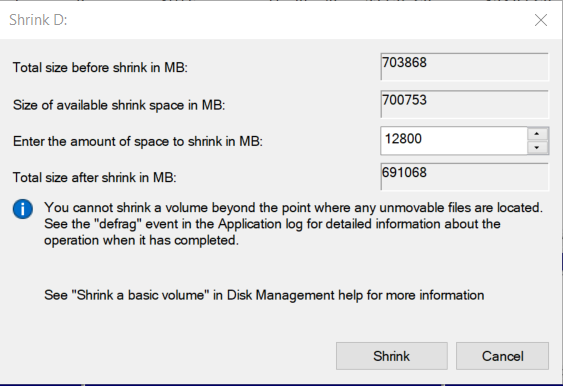
Step 3: Enter the amount of space you want to shrink in MB, then click on the “Shrink” button.
Step 4: Right-click on the unallocated space on your hard disk, and then select “New Simple Volume”

Step 5. In the New Simple Volume Wizard interface, click “Next”.
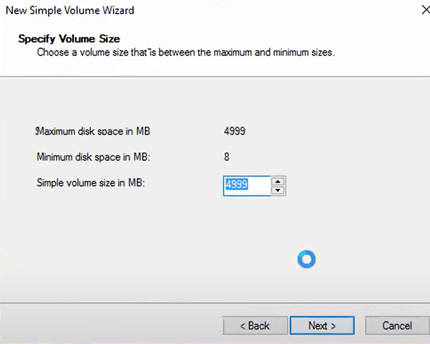
Step 6. Enter the size of the volume you want to create in MB or accept the default size, and then select “Next”.
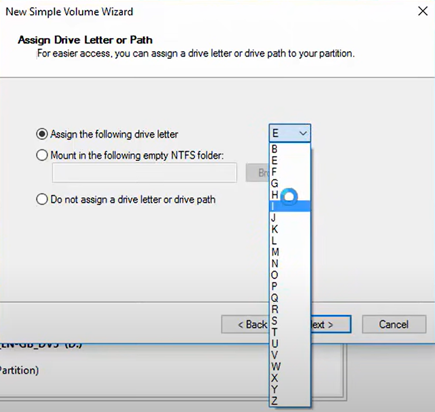
Step 7: Accept the default drive letter or choose a different letter for the partition, and then select “Next”.
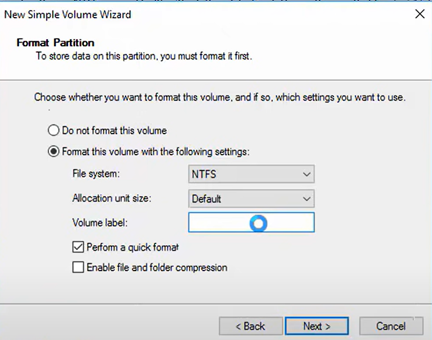
Step 8: Set the default file system as NTFS, assign a label for your partition, and click “Next” to format the volume.
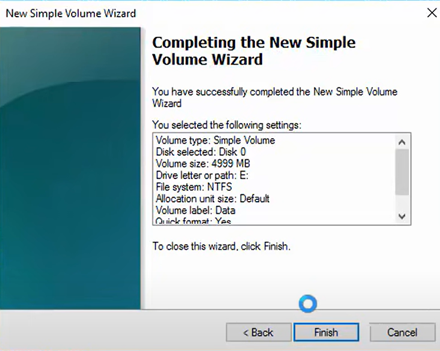
Step 9: Click “Finish” to complete creating a new partition in Windows 10 .
Final Product: This is what it should look like in your Laptop/PC:
