
In order to install WordPress in a docker container, you must have docker and docker compose installed in your Ubuntu. If you already have docker and docker compose, you can now follow these steps to install WordPress in a docker container.
Step1: Create a new directory for WordPress:
$ mkdir ~/wordpressdocker/
if it is saved in /home directory, move your created file into /var/www/html directory.
$ sudo mv wordpressdocker /var/www/html
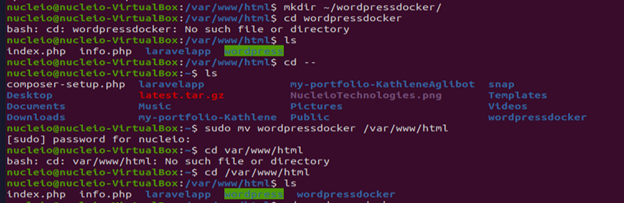
then navigate to the wordpressdocker project
$ cd /var/www/html/wordpressdocker
Create docker-compose.yml file and edit it by typing the following:
$ touch docker-compose.yml
$ sudo nano docker-compose.yml

Once you are inside the file, copy and paste the following text, don’t forget to change the credentials:
version: '3.3'
services:
   db:
     image: mysql:5.7
     volumes:
       - db_data:/var/lib/mysql
     restart: always
     environment:
       MYSQL_ROOT_PASSWORD: somewordpress
       MYSQL_DATABASE: wordpress
       MYSQL_USER: wordpress
       MYSQL_PASSWORD: wordpress
   wordpress:
     depends_on:
       - db
     image: wordpress:latest
     ports:       - "8000:80"
     restart: always
     environment:
       WORDPRESS_DB_HOST: db:3306
       WORDPRESS_DB_USER: wordpress
       WORDPRESS_DB_PASSWORD: wordpress
       WORDPRESS_DB_NAME: wordpress
volumes:    db_data: {}

Press CRTL + X then press Y and hit ENTER
Step 2: Run docker
Run this command in the directory to create the containers:
$ docker-compose up -d
Wait for it to complete then navigate into your browser the localhost:8000

Once it shows like the image above, WordPress is installed successfully.