
To create an AAB file in Flutter with Visual Studio Code, open your project in VS Code. Install Flutter and Dart SDK, then navigate to your project’s root directory in the terminal. Use the command flutter build appbundle to generate the AAB file in build/app/outputs/bundle/release. Test it on a device or emulator before distribution. That’s how you create an AAB file in Flutter with VS Code.
To create an Android App Bundle (AAB) file in Flutter using Visual Studio Code, you can follow these steps:


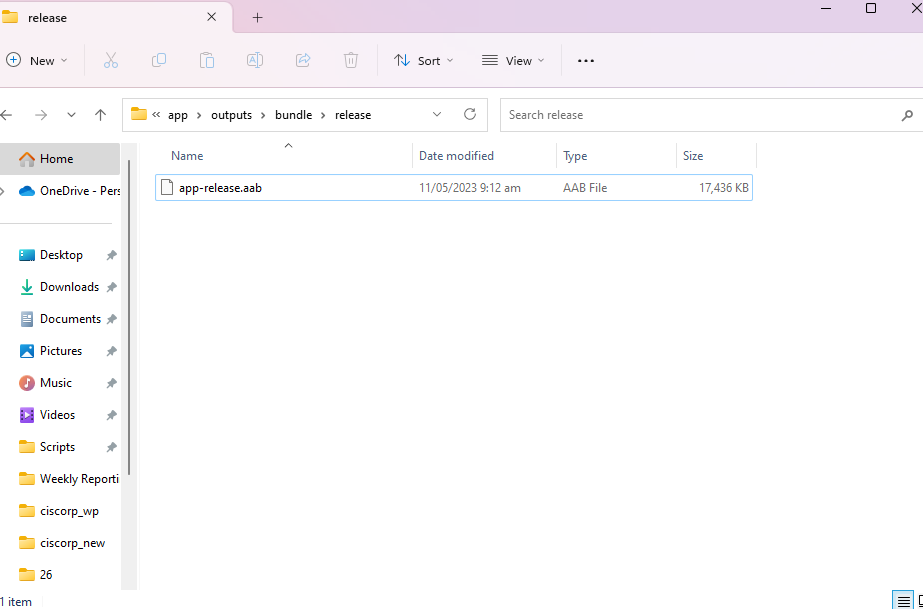
flutter build appbundleThis command will create the AAB file for your app in the build/app/outputs/bundle/release directory.
- After the build process completes, you should see a success message in the terminal, along with the path to the generated AAB file.
Conclusion
Remember to test your AAB file thoroughly before publishing it to the Google Play Store or using it for distribution. You can test it by installing it on an Android device or using an emulator. If you encounter any issues during the process, make sure to check your Flutter and Dart SDK versions, as well as your project configuration. Additionally, referring to the Flutter documentation and the Visual Studio Code Flutter extension’s documentation can provide more specific guidance.