
Cumulative updates are downloaded and installed automatically by Windows 10 as soon as they become available. Although this method allows laptops and desktop computers to receive security updates to fix vulnerabilities, improve speed, and add features without requiring user participation, it is a very contentious feature.
Typically, this is due to the presence of flaws in updates, which can have a detrimental impact on the user experience in a variety of ways. They may, for example, damage current functionality, bring driver and program compatibility issues, or trigger the Blue Screen of Death (BSoD), and they necessitate a system restart to finish the installation, which may impede your productivity.
If you have more difficulties than advantages during updates, or if you have a valid reason to use a device without updates, you may deactivate automatic updates using the Settings app or permanently using the Group Policy and Registry, depending on your version of Windows 10.
We will walk you through the steps in this Windows 10 article to block Windows Update from automatically downloading and installing updates on your computer.
How to Turn Off Automatic Updates in Settings?
If you need to block the system from downloading a certain update, you do not need to completely disable Windows Update. Instead, you should merely disable Windows Update until the next Patch Tuesday. On Windows 10, the Settings app offers a setting that allows you to pause updates for up to 35 days.
To temporarily prevent automatic updates, follow these steps:
- Navigate to Settings.
- Select Update & Security.
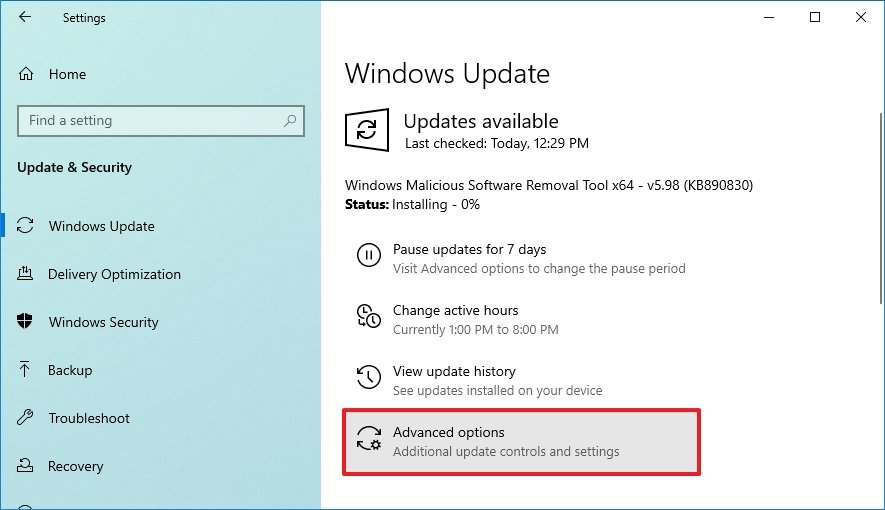
- Select Windows Update.
- Select Advanced settings by clicking the button.
5. Use the drop-down option under the “Pause till” section to determine how long to pause updates.
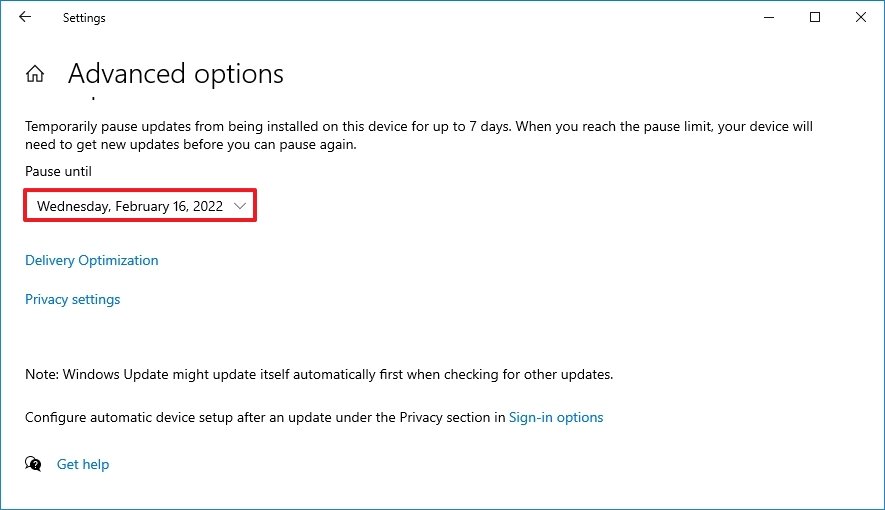
After you finish the procedures, Windows Update will no longer download for the time period you set. When the system hits the pause limit, you must apply the most recent patch to reactivate the option.
You may always reverse the modifications by following the steps mentioned above, but on step 5, select the Select date option. You may also achieve the same result by clicking the Resume updates option.
How to Use Group Policy to Disable Automatic Updates?
The Local Group Policy Editor in Windows 10 Pro contains rules to permanently block automatic updates or to adjust the update settings to specify when patches should be deployed on the device.
Disable Windows 10 updates
To permanently deactivate automatic updates in Windows 10, follow these steps:
- Start the program.
- To start the Local Group Policy Editor, search for gpedit.msc and select the first result.
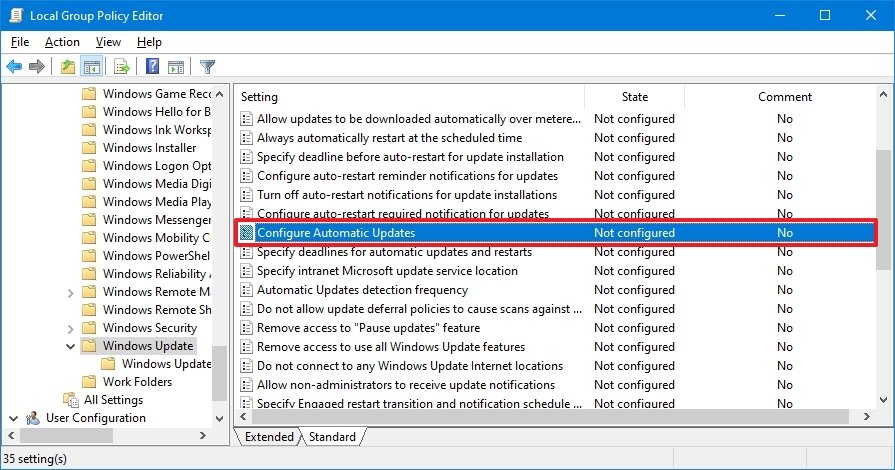
- Go to the following path: Computer Configuration > Administrative Templates > Windows Components > Windows Update
- On the right, double-click the Configure Automatic Updates policy.
5. Check the Disabled option to turn off automatic Windows 10 updates permanently.
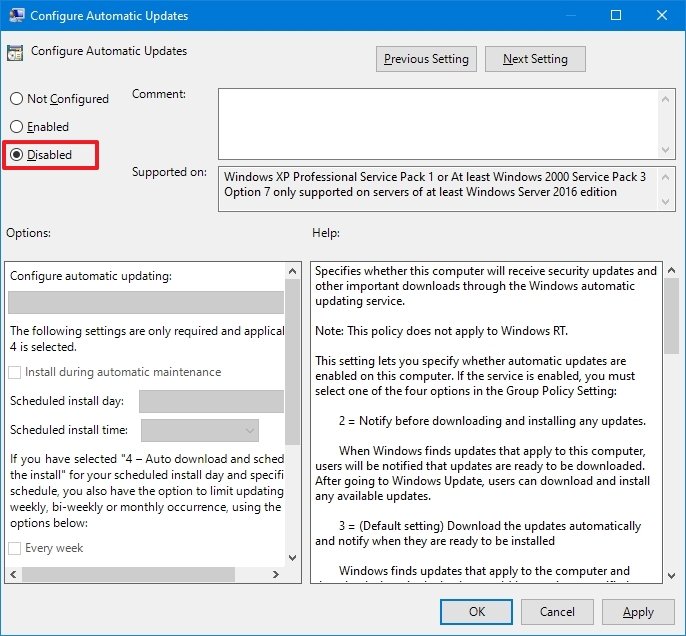
6. Then, press the Apply button.
7. Then press the OK button.
After you finish the procedures, Windows 10 will automatically cease downloading updates. However, the ability to manually check for updates will remain accessible by going to Settings > Update & Security > Windows Update and pressing the Check for updates button to download the most recent patches as needed.
If you wish to re-enable automatic updates on the computer, follow the same steps as before, but on step 5, be sure to pick the Not Configured option.