
A droplet on DigitalOcean is a Linux-based VM that runs on top of virtualized hardware. You can utilize each Droplet you construct as a new server either standalone or as a part of a larger cloud infrastructure. However, if you wish to destroy a droplet in this cloud infra. provider, proceed with the guide that we have provided.
The first thing you need to do is head over to your dashboard and click the project where the droplet that is about to destroy is located.
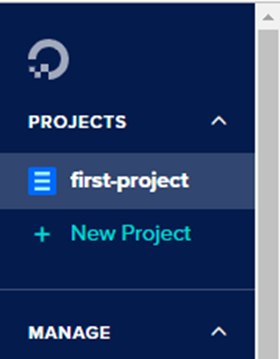
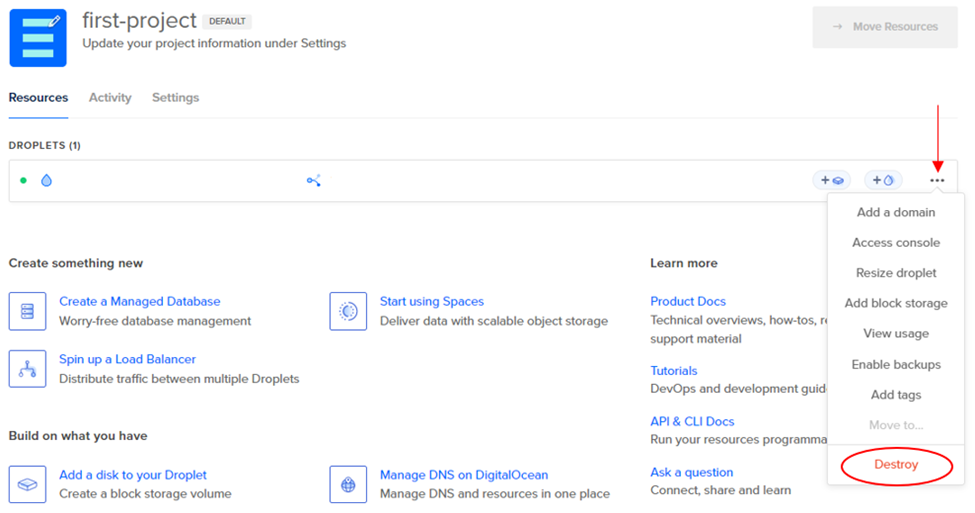
In this case, we have a “first project” where the created droplet is located under the resources of the project. On the droplet that we’re about to destroy, click on the dropdown options on the right side of the droplet bar and click on “Destroy“.
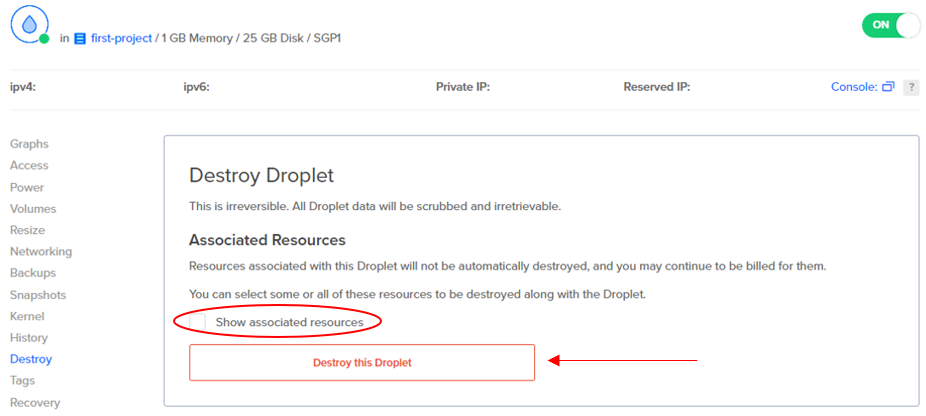
To destroy the droplet itself without destroying any of its associated resources, go ahead and click “Destroy this Droplet“. However, if you wish to destroy a droplet and any of its associated resources, click the checkbox, and select the connected resources that you would like to destroy as well. Once you’ve selected the resources, proceed to destroy the droplet.
In the confirmation window, you have to enter the name of the droplet to enable the destroy button. On the other hand, if you have selected any other resources it is advise to review the list that is about to destroy. Note that the droplet and the selected resources will be destroyed permanent.
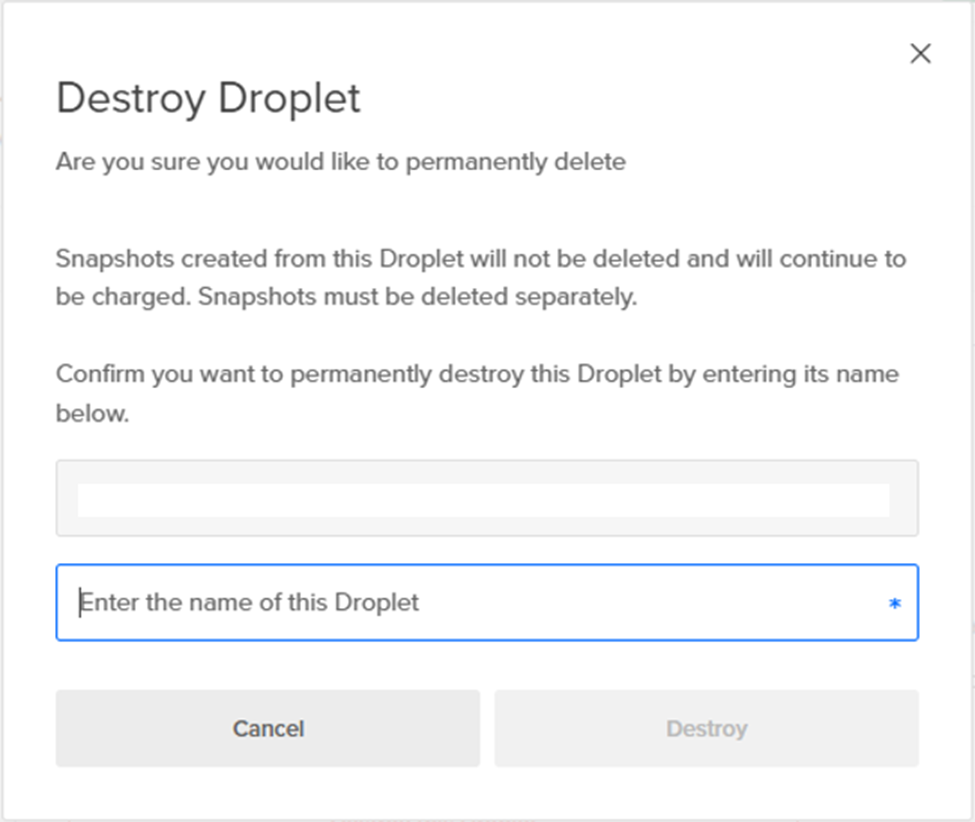
Once you have clicked the destroy button a “droplet has been destroyed” message will appear.

That’s it! You have successfully destroyed your DigitalOcean Droplet, I hope this article helps you to learn “How To Destroy A Droplet From The DigitalOcean Control Panel”.