React Native is a common JavaScript framework used in developing a mobile application. This framework lets developers create an application for various platforms by using the same codebase.
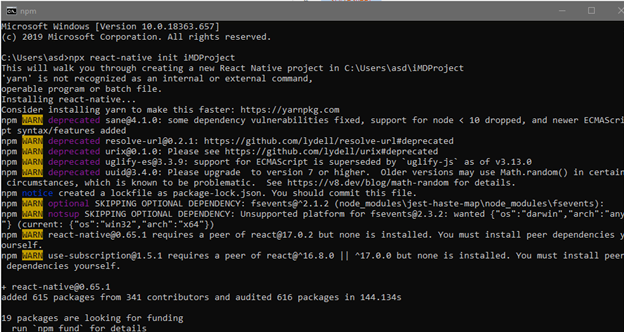
To create a React Native project using CLI, we will the command:
npx react-native init name-of-your-project
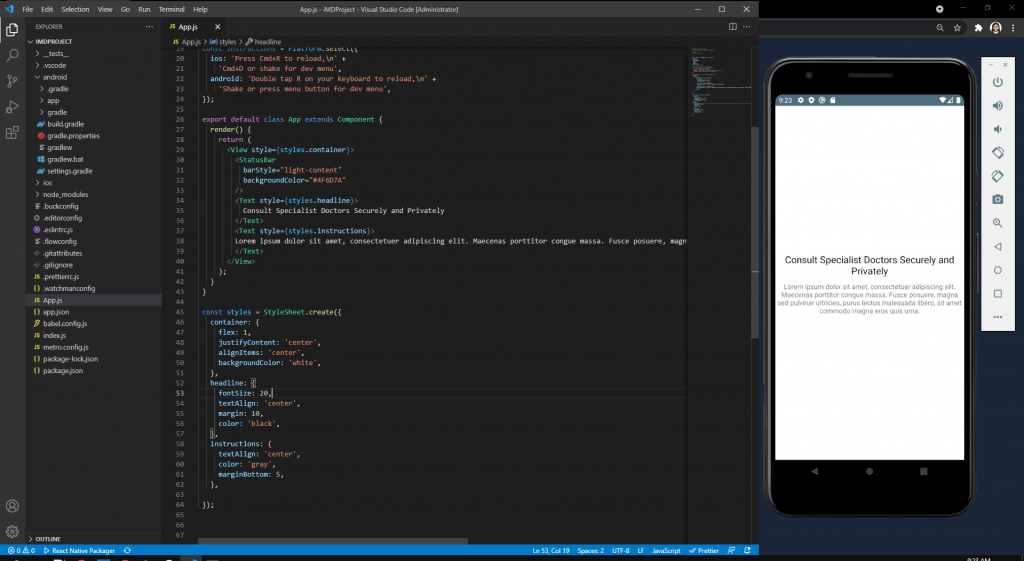
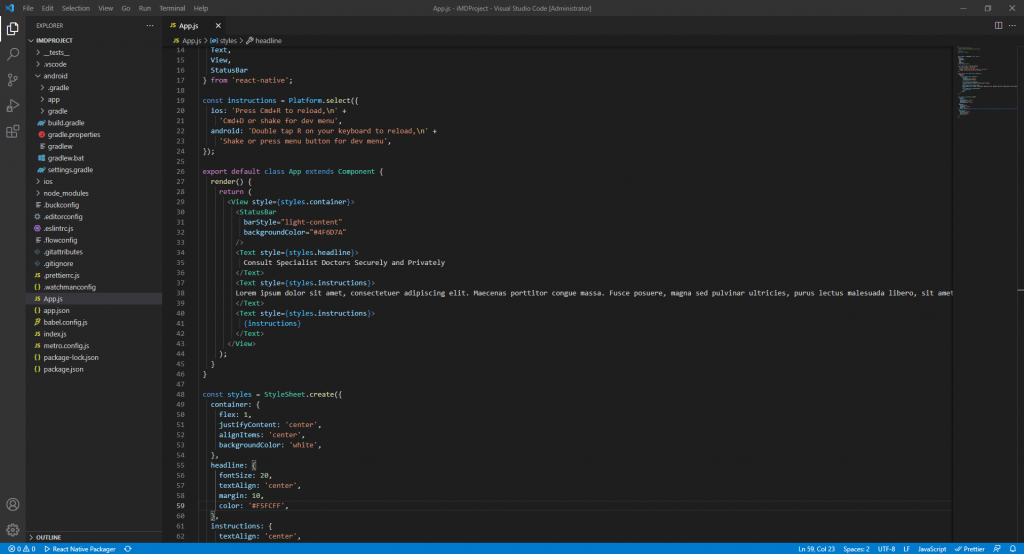
Go to the Project folder and open it on Visual Studio Code in order to build your Project.
To test the mobile app development, we can start the packager start up called Metro by using the command:
npx react-native start

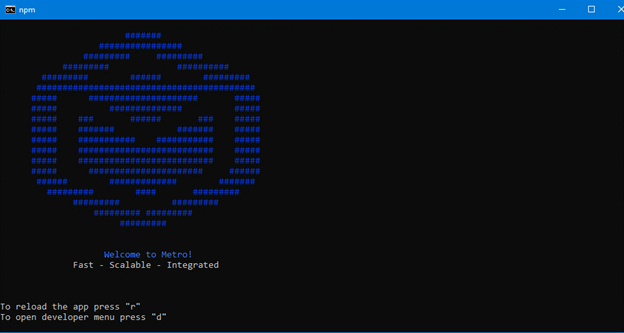
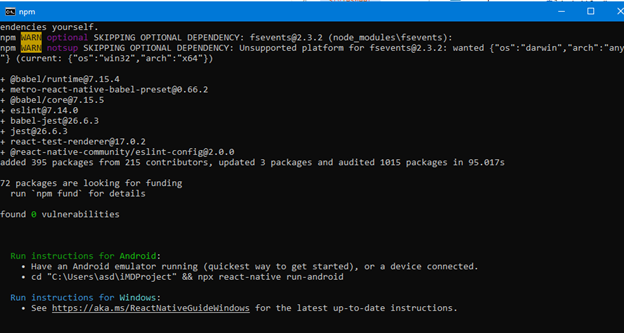
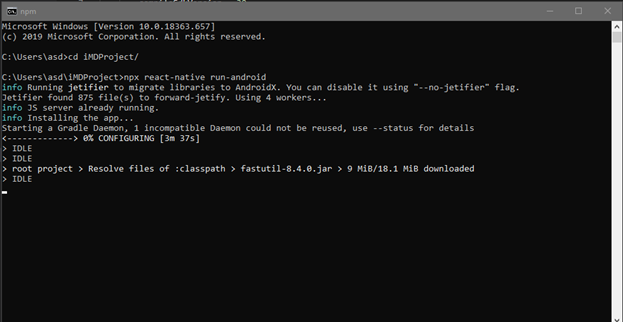
You’ll see the logo of The Metro Bundler and after that, open up the android studio emulator and in another command prompt, go to the project path and type:
npx react-native run-android
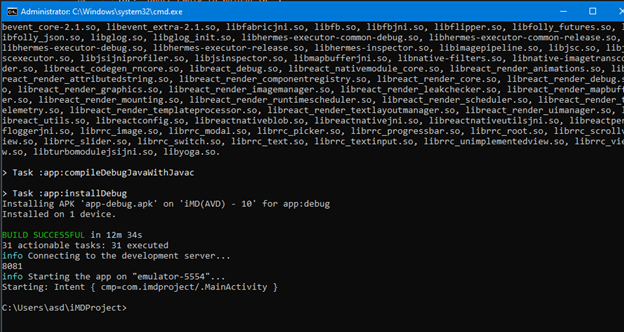
It may take some time but once it’s finish, your React Native Project will appear on the Android Studio Emulator.