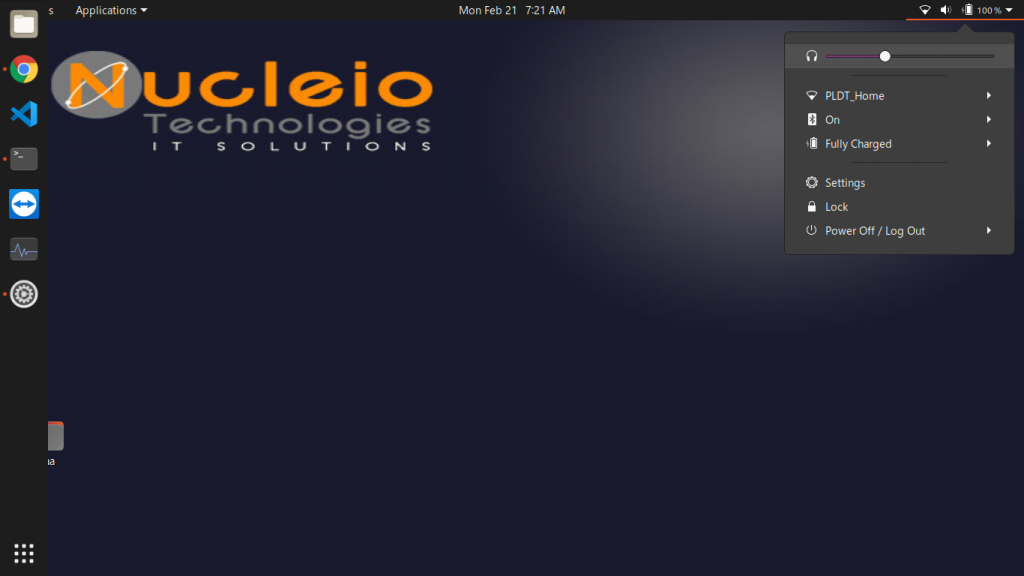
In this tutorial, you will learn how to manually connect your Ubuntu server to a WIFI using a terminal regardless of what type of ubuntu desktop or ubuntu server version you are using.

Ubuntu 20.04: Connect to WiFi from command line
Step 1: First step is to identify the name of your wireless network interface. To do so execute:
ls /sys/class/net
Step 2: Next, navigate to the /etc/netplan directory and locate the appropriate Netplan configuration files. The configuration file might have a name such as 50-network-manager-all.yaml.
ls /etc/netplan/
Step 3: Edit the Netplan configuration file:
sudo nano /etc/netplan/50-cloud-init.yaml
wifis:
        wlan0:
            optional: true
            access-points:
                "SSID-NAME-HERE":
                    password: "PASSWORD-HERE"
dhcp4: trueNote: There might be other configurations inside the 50-cloud-init.yaml. Do not delete anything and just add the wifis configuration.
Step 4: Once ready, apply the changes and connect to your wireless interface by executing the below command:
sudo netplan apply
Reference
https://blog.rottenwifi.com/ubuntu-connect-to-wifi-terminal/
https://x8t4.com/how-to-connect-wifi-from-the-terminal-on-ubuntu-16-04/
https://www.maketecheasier.com/fix-no-route-to-host-error-linux/
