
Streamlit is a powerful Python framework for creating and deploying data-driven web applications. Moreover, with its simplicity and user-friendly interface, Streamlit enables quick development of interactive and engaging applications. In this blog post, we will walk you through the process of deploying a Streamlit web app on Streamlit.io, a cloud platform specifically designed for Streamlit applications.
Prerequisites:
Prerequisites: Before we begin, ensure that you have the following:
- A fully functional Streamlit web app developed in Python.
- An active account on Streamlit.io (sign up for free if you don’t have one).
- Basic knowledge of cloud platforms and deployment concepts.
Step 1: Prepare your Streamlit Web App To begin, make sure your Streamlit web app runs smoothly on your local machine.
Furthermore, It should include the necessary code to fetch weather data from an API and display it interactively using Streamlit components.
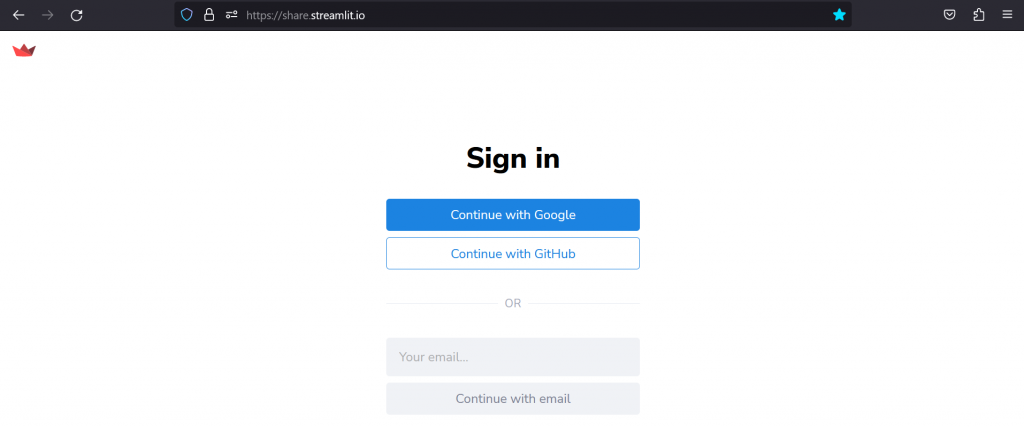
Step 2: Sign Up for Streamlit.io Visit Streamlit.io and create an account if you haven’t done so already. Streamlit.io provides a user-friendly platform for deploying and managing Streamlit applications in the cloud.
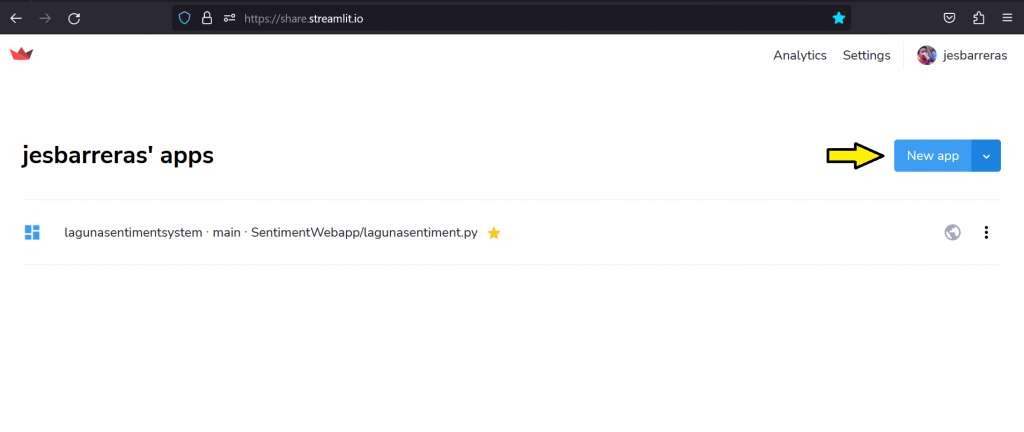
Step 3: Deploy your Streamlit App Once you’re logged in to Streamlit.io, follow these steps to deploy your web app:
- Click on the “New App” button or navigate to the “Apps” section.
- Choose the repository or code location where your Streamlit app is stored.
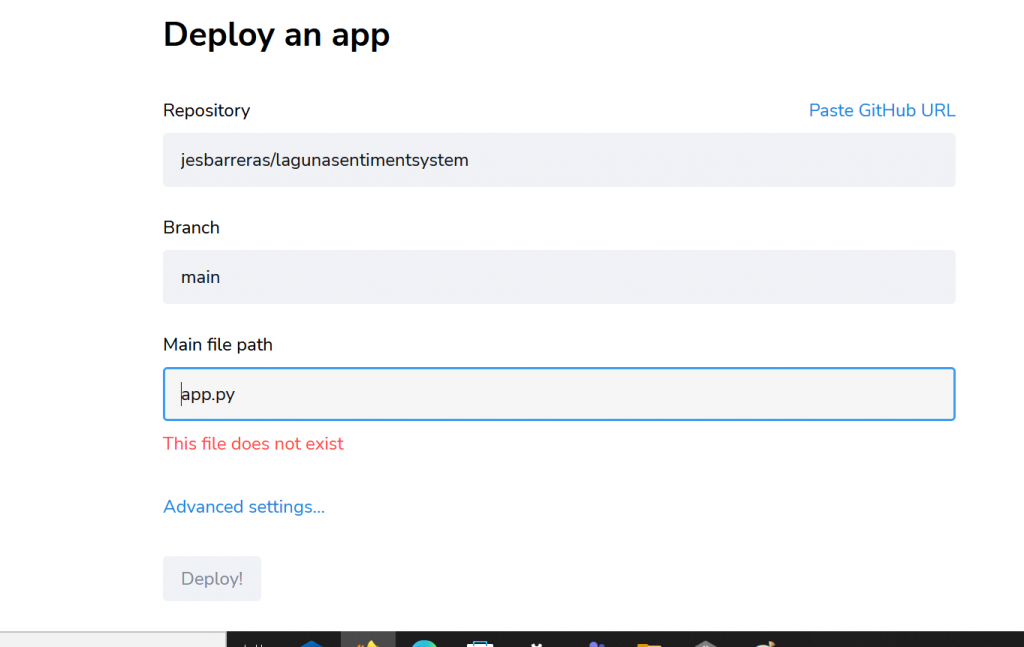
- Streamlit.io will automatically detect the app’s requirements and configuration files.
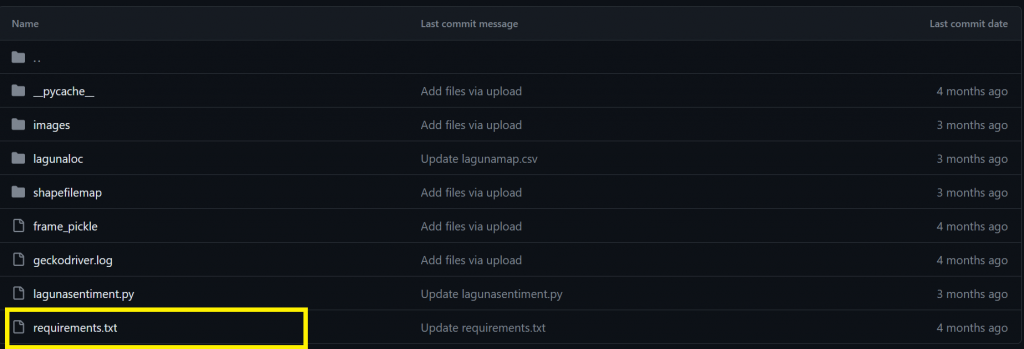
Note: Please ensure that you include a requirements.txt file in your web application, which should list all the necessary modules or dependencies used.
Moreover, the examples of indicating modules/dependencies used along side it’s version inside the requirements.txt.
advertools==0.13.2
alembic==1.9.2
altair==4.2.0
asgiref==3.6.0
async-generator==1.10- Configure your deployment settings, such as the app name, domain, and region.
- Initiate the deployment process by clicking on the “Deploy” button.
Step 4: Monitor and Manage your Deployed App After deploying your app, Streamlit.io will provide a unique URL to access it.
Additionally, visit this URL to verify that your weather app functions correctly in the cloud. Streamlit.io offers various tools and features for monitoring and managing your deployed app, including logs, analytics, and scaling options.
Step 5: Enable Continuous Deployment (Optional) Streamlit.io supports continuous deployment, allowing automatic updates to your app whenever you push changes to your code repository.
This ensures that your app is always up to date without requiring manual intervention. To enable continuous deployment, refer to Streamlit.io’s documentation for specific steps based on your version control system (e.g., GitHub, GitLab, Bitbucket).
Conclusion:
By following the steps outlined in this blog post, you can successfully deploy your Streamlit weather app on Streamlit.io. With Streamlit.io simplifying the deployment process, you can focus on building and improving your application. Deploying your app in the cloud enables you to reach a wider audience while benefiting from the scalability and reliability offered by cloud platforms. Start sharing your Streamlit weather app with the world and enjoy coding!