
Flutter’s ability to create beautiful cross-platform apps extends to Windows desktop development. If you’re already using Flutter for Android development, let’s dive into how to build Windows applications using the same framework!
Prerequisites
- Existing Flutter and Dart development setup.
- Visual Studio (Community edition or higher) with the “Desktop development with C++” workload installed.
Creating Your First Windows App
- New Project: In Android Studio, initiate a new Flutter project:
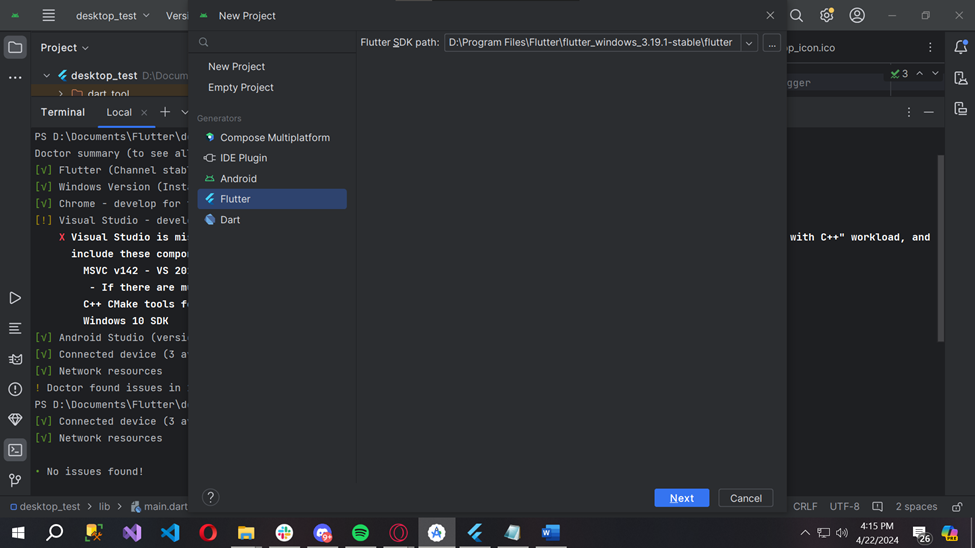
- Project Setup: Configure your project by providing:
- Project Name
- Flutter SDK Path
- Project Location
- (Optional) Additional details like a project description

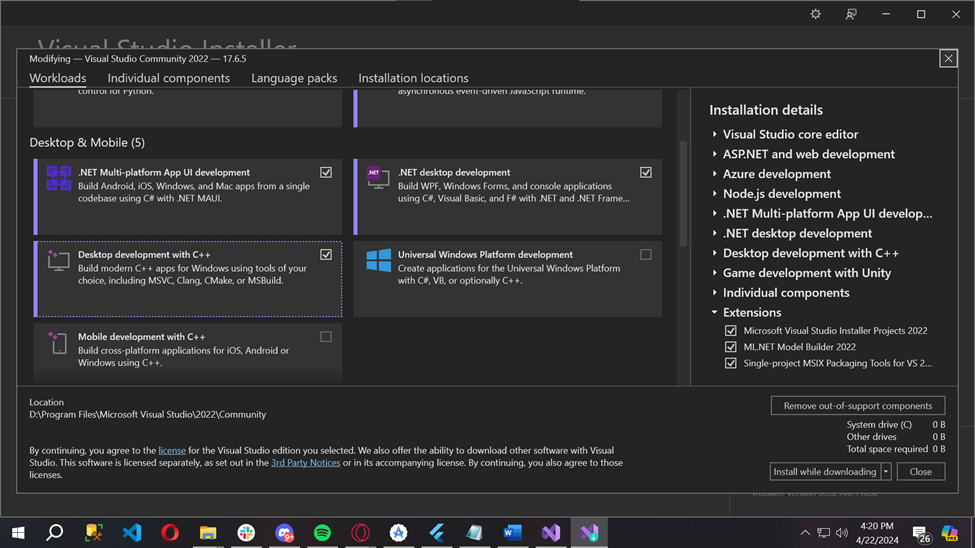
Installing Visual Studio’s “Desktop development with C++” Workload
- Open Visual Studio Installer: Search for “Visual Studio Installer” in your Windows Start menu.
- Modify Installation: Find your existing Visual Studio installation, click “Modify”.
- Workloads Tab: Go to the “Workloads” tab.
- Select the Workload: Check the box for “Desktop development with C++”.
- Install: Click “Modify” to download and install the necessary components.
Example flutter app
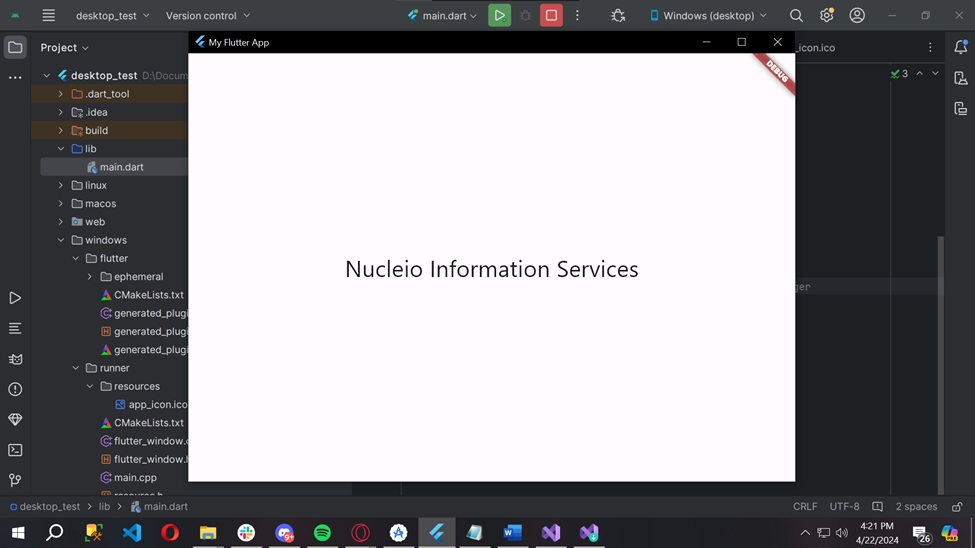
Let’s Get Building!
This is the starting point for your Flutter exploration on the Windows platform. Experiment with layouts, widgets, and plugins to create your own unique Windows applications.
Need Help or More Information?
- Flutter’s Windows development documentation: Find official guides and resources.
- Flutter Community: Get help and connect with other developers.