Java Platform, Standard Edition (Java SE) is a computing platform used for developing and deploying portable codes for desktop and server environments. This platform uses Java programming language and is part of the Java software-platform family. is a specification that describes an abstract Java platform. It gives users a foundation for building and deploying network-centric enterprise applications that range from the PC desktop computer to the work group server.
In order to install it in your Windows 10, search for Java SE Oracle in your browser.
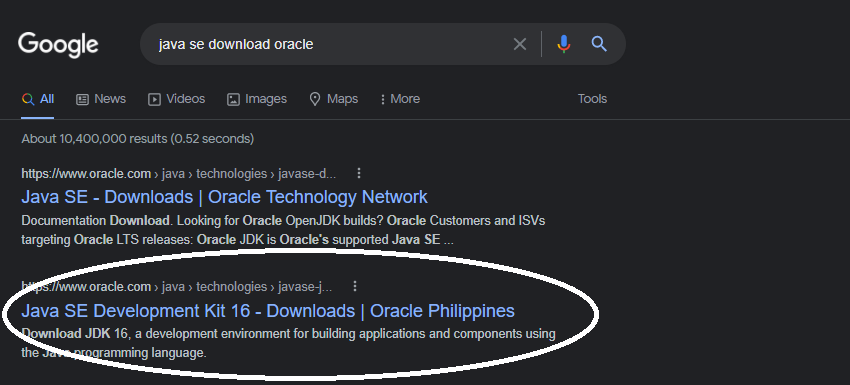
Open the encircled above and it will direct you to.

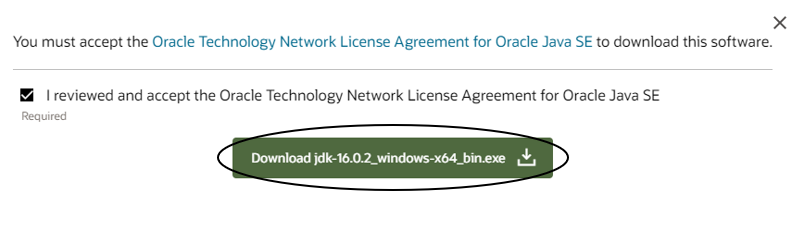
Scroll down and you’ll see the list of downloadable package but choose this one:
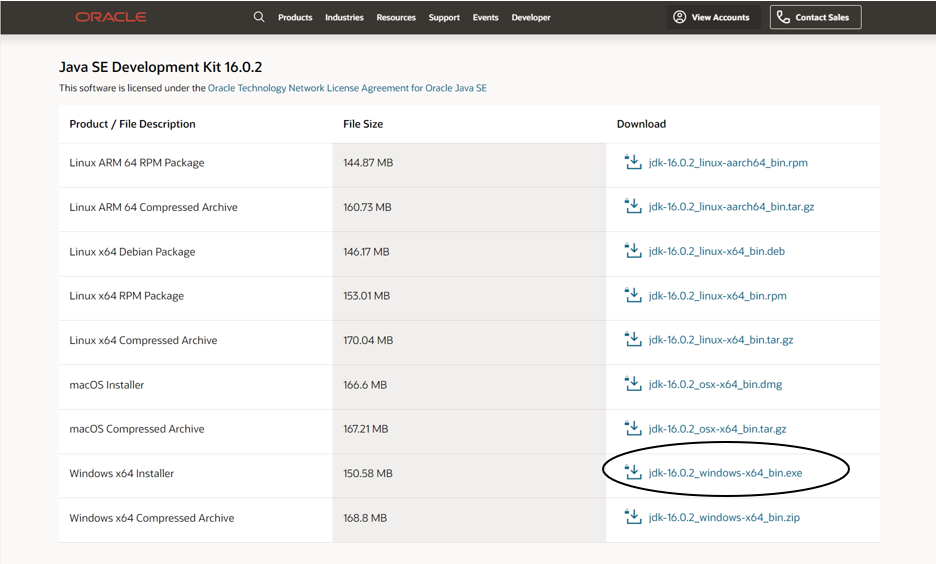
Accept the Oracle Technology Network License Agreement for Oracle Java SE in order to download and after that, click on the download exe.
You’ll wait until the downloading will be finished.

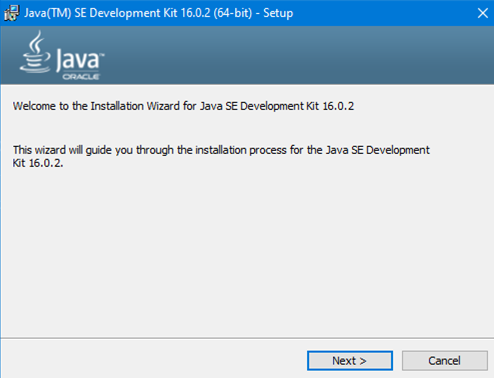
The setup will appear after clicking on the downloaded file and click on Next.
Click on Next if you think that the directory written is correct, click on Next again.

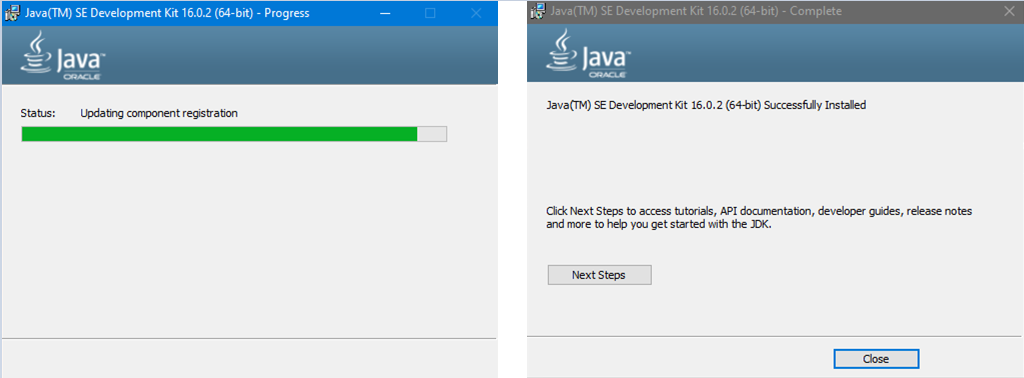
Wait until the installation is finished and click on Close after.
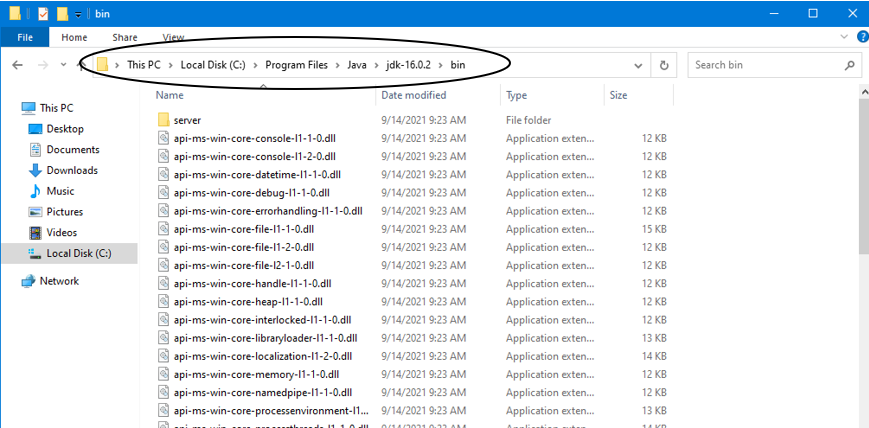
You have to go to the folder where the Java SE was saved and find Bin. Copy the path of the folder.
On the start menu, search for Environment variables for your account and click on Environment variables below. Find Path on the System Variables and click.
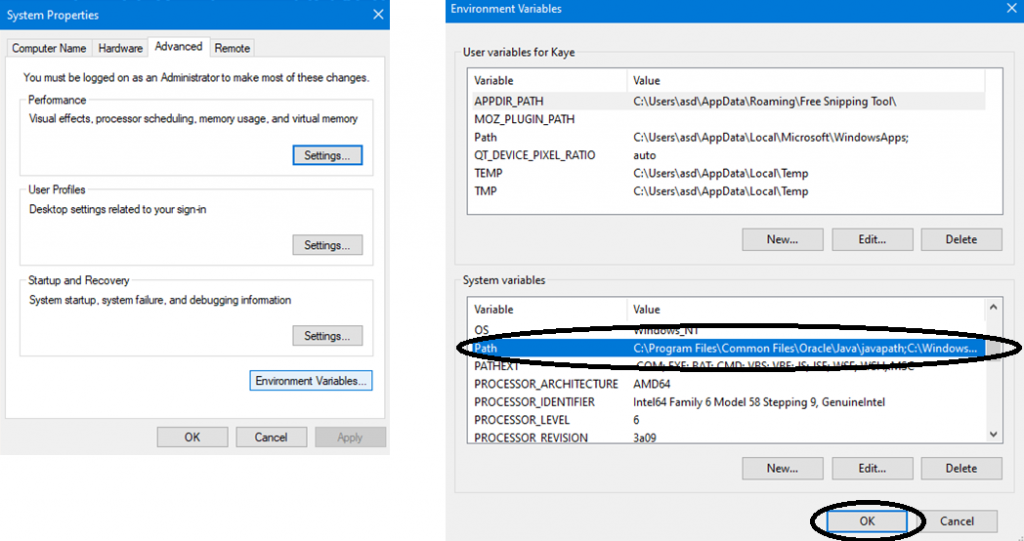
Click on New and paste the folder path of Bin. Example: C:\Program Files\Java\jdk-16.0.2\bin

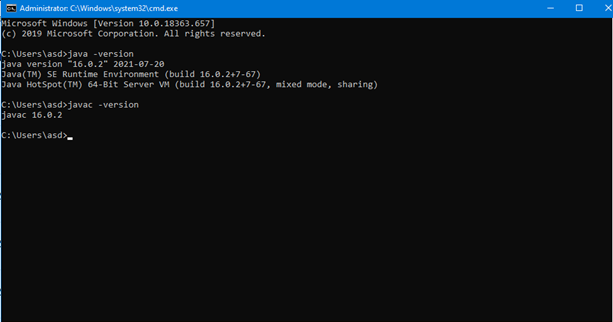
Click on OK and proceed to the the Windows Command Prompt. Type java -version to check if you have successfully installed Java SE on your Windows 10.