
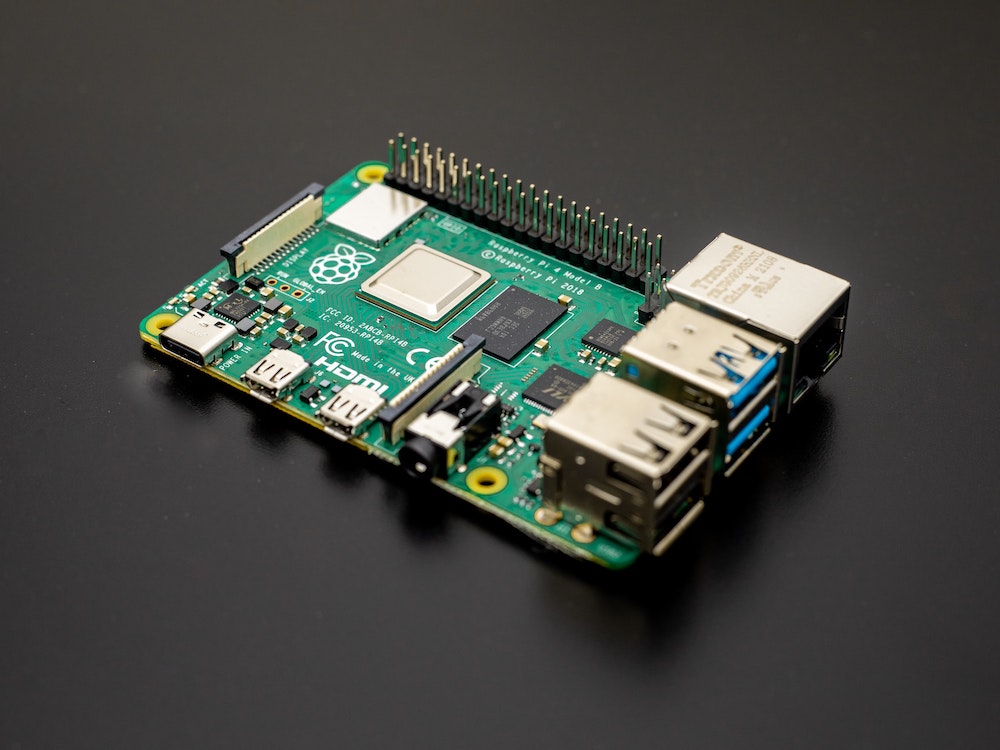
Raspberry pi is a small single-board, low-cost computer. The modules of the raspberry pi is based on Broadcom BCM2835 SoC unit which defines the structure that includes a complete microprocessor system, so there is the central unit (CPU), FLASH or ROM, EEPROM and RAM memory, digital and analog devices, and also the analog-to-digital and digital-to-analog converters, as well as serial interfaces.
One of the popular uses of Raspberry pi is a web server that lives on your local network. It makes excellent sense as an inexpensive and power-efficient way to host websites and web applications over a local network. This article will guide you on how to set up your first web server and host a website.
Requirements:
- Raspberry Pi
- Card reader and SD Card for installation of os
- Ubuntu server os (i use ubuntu server 20.04.3 LTS 64bit)
- Internet connection via Ethernet
Step 1 Prepare SD card for installation of ubuntu server os
For the installation of the Ubuntu server image to your SD card, you need to use the raspberry pi imager
You can download Raspberry pi Imager at this link:

Navigate the Ubuntu server by clicking on “Other general purpose OS ” and click “Ubuntu”
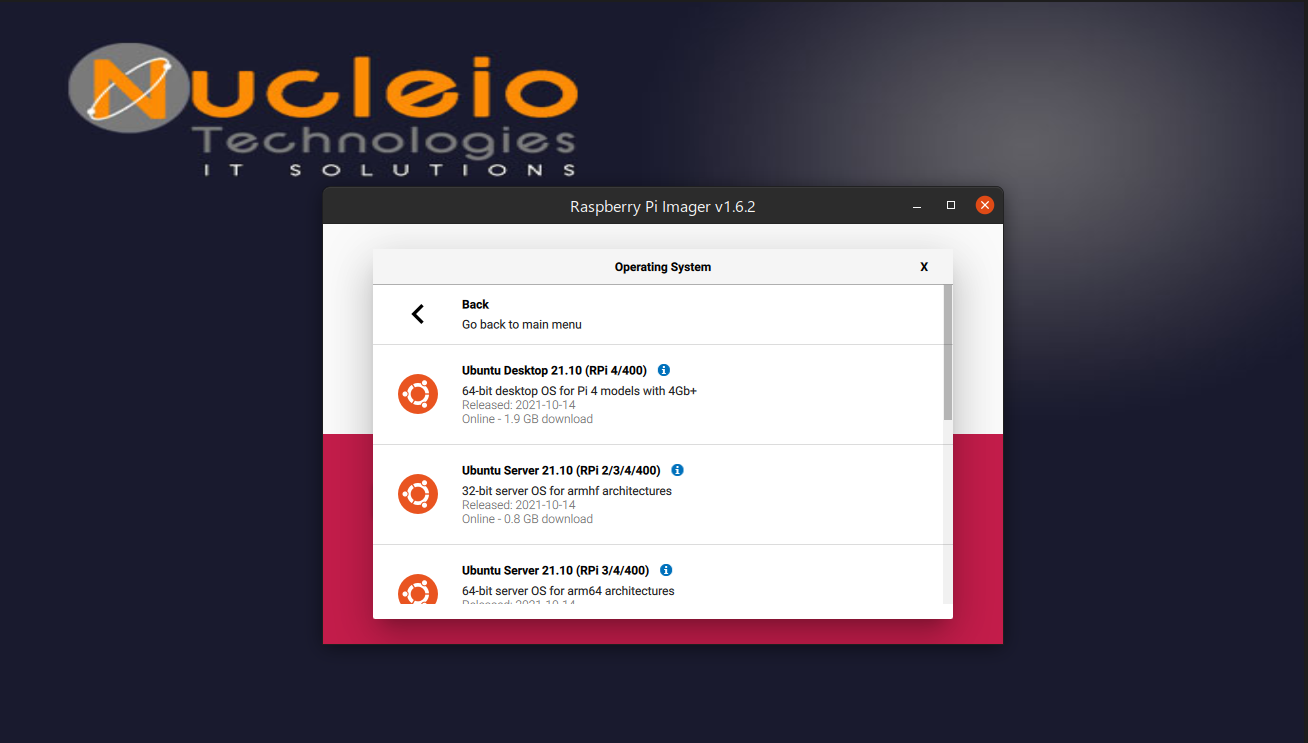
Choose your desired ubuntu version. In my case, I choose Ubuntu Server 20.04.03 LTS in 64 bit.
Note: Lower version like raspberry pi 2 is limited to 32-bit image only. If you use a higher version like RP 4 you need to choose 64 bit, otherwise you will be able to use 4GB ram only.

Choose your SD card in “Storage” and click “WRITE”. Wait until it prompts Write Successful
Note: Make sure the SD card does not have any important files because it will format the SD card first to write the images.
Step 2 Access your pi server via SSH
- Start your RP with your SD card in it and connect it to your router using an ethernet cable.
- Find the IP address of your ubuntu server. It is usually named “ubuntu” and I find my pi server’s IP address on the dashboard provided by my ISP.
- If you have the IP address of your pi server, open your terminal and type this command
- ssh ubuntu@<your-pi-ip-address>
- Default credentials
- User: ubuntu
- Password: ubuntu
Step 3 Setup your first website with NGINX
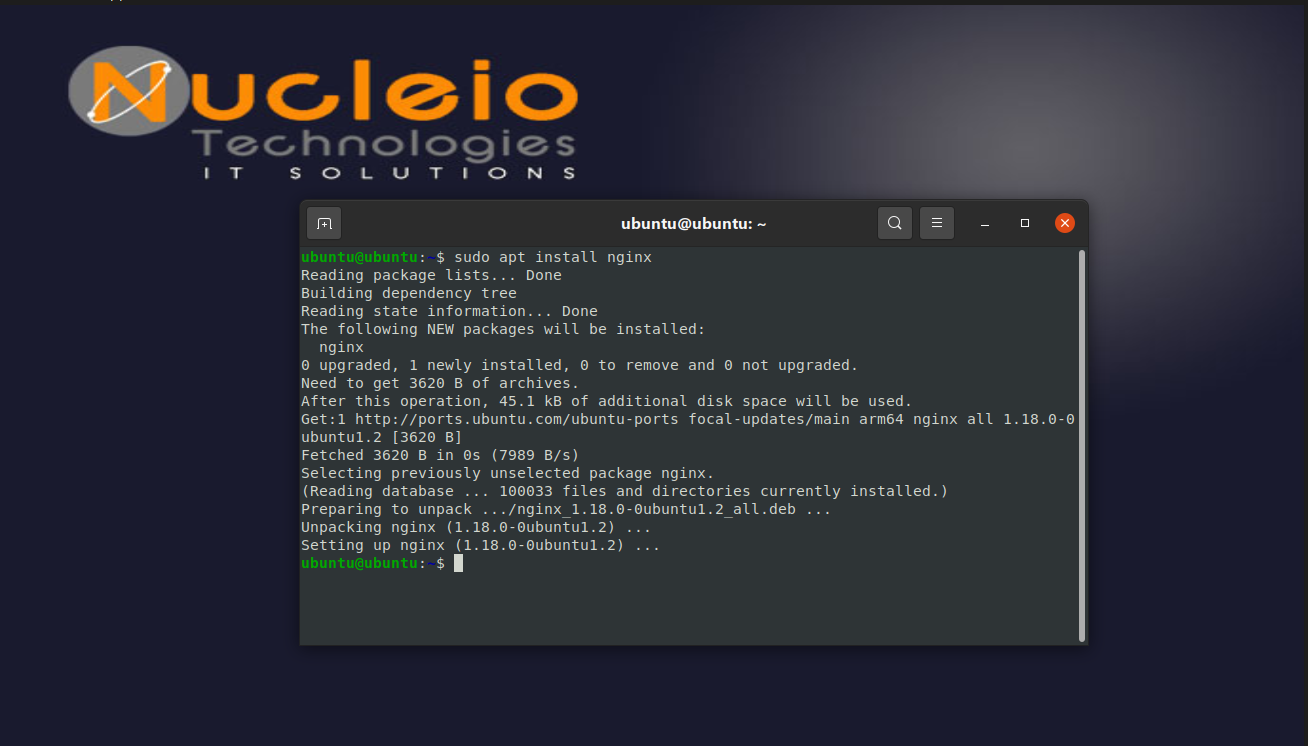
- First, you need to install nginx. To install, run this command
- sudo apt update
- sudo apt upgrade
- sudo apt install nginx
- Start Nginx, run this command
- sudo service nginx start
- To check run sudo service nginx status

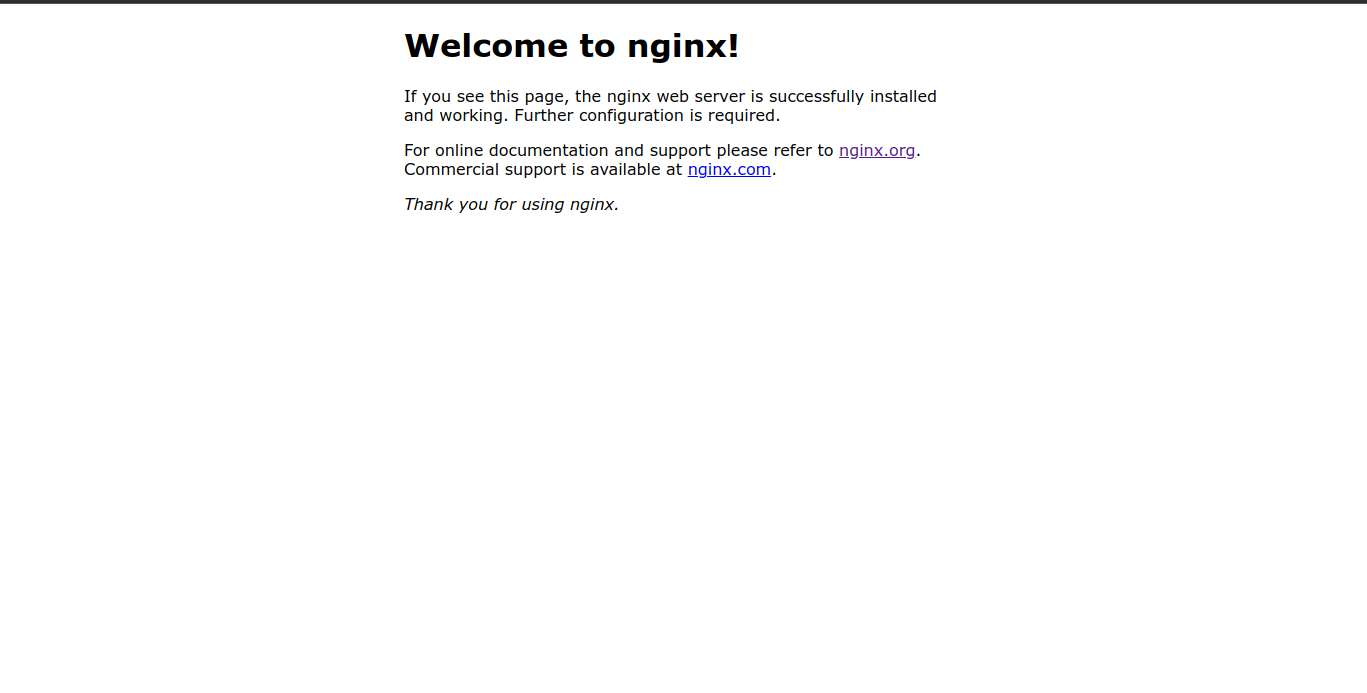
- To check if Nginx is running, type the IP address of your pi server and it should go to the default page of Nginx.
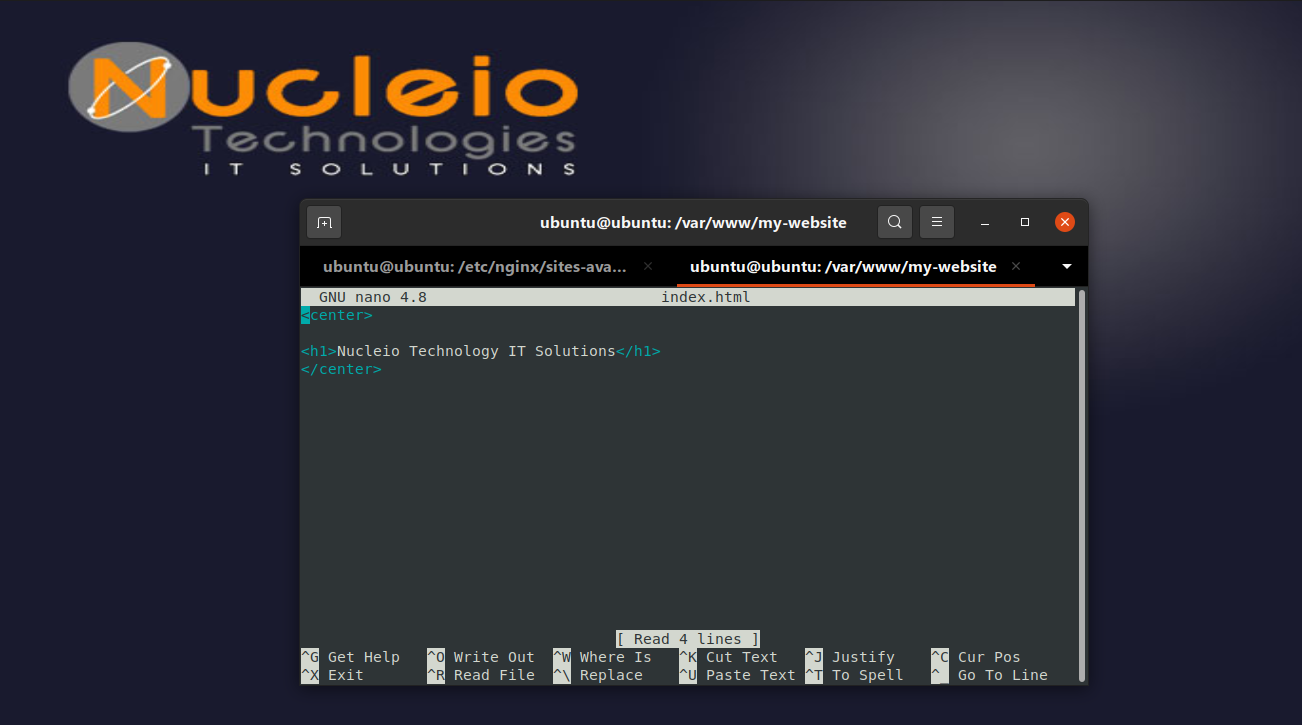
- To add your first website, run this command.
- sudo mkdir /var/www/my-website && sudo nano /var/www/my-website/index.html
- Change permission of /var/www/my-website, run this command
- sudo chown -R $USER:$USER /var/www/my-website
- sudo chmod -R 755 /var/www/
- Add config in /etc/nginx/sites-available, run this command.
- sudo nano /etc/nginx/sites-available/my-website
- Paste this content and put you pi server ip address in server_name
server {
listen 80;
listen [::]:80;
server_name <your-pi-ip-address>;
root /var/www/my-website;
index index.html;
location / {
try_files $uri $uri/ =404;
}
}
- Type this command
- sudo ln -s /etc/nginx/sites-available/my-website /etc/nginx/sites-enabled
- Restart nginx by running this command
- sudo service nginx restart
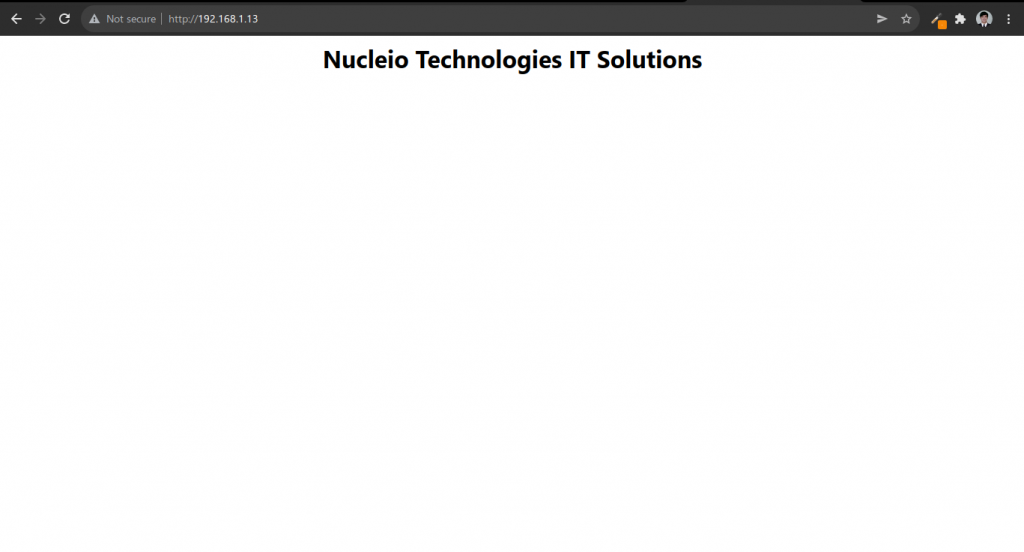
- To check if the website is deploy, put the ip address of your pi server in browser.
Reference
https://www.cram.com/essay/Raspberry-Pi-Performance-Analysis/FCWCKM4ZHQU#:~:text=Raspberry%20Pi%20is%20a%20credit,gaming%20and%20playing%20audio%2Fvideo.&text=The%20Raspberry%20Pi%20is%20a,and%20a%20250%20MHz%20GPU.
https://www.notebookcheck.net/The-Raspberry-Pi-4-gets-a-tiny-CPU-upgrade.567241.0.html