
Flutter is a portable UI toolkit from Google that allows you to create attractive, natively built apps for mobile, web, and desktop from a single codebase. Flutter is free and open source, and it works with existing code. It is utilized by developers and organizations all over the world. In this article, we’ll learn how to use flutter in Visual Studio Code and run it with Android Studio.
In order to run a flutter (.dart), we are going to need the following:
- Visual Studio Code (Installed with Flutter extensions
- Android Studio
In order to create a flutter project:
1. Open the Command Palette (Ctrl+Shift+P).
2. Select the Flutter: New Application Project command and press Enter
3. Enter your desired Project name and select the folder location.
After opening your project, go to android studio and follow this steps:
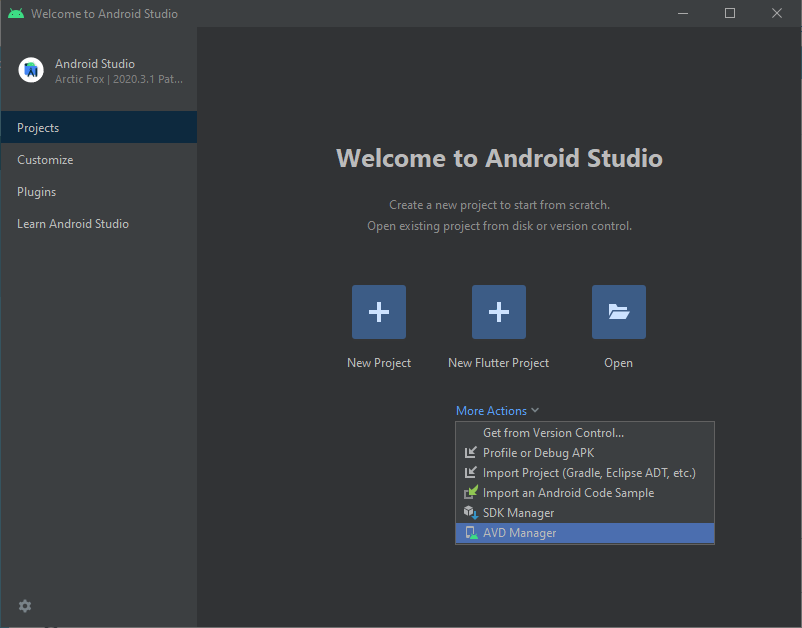
- On the home screen of Android studio click More actions > AVD Manager.
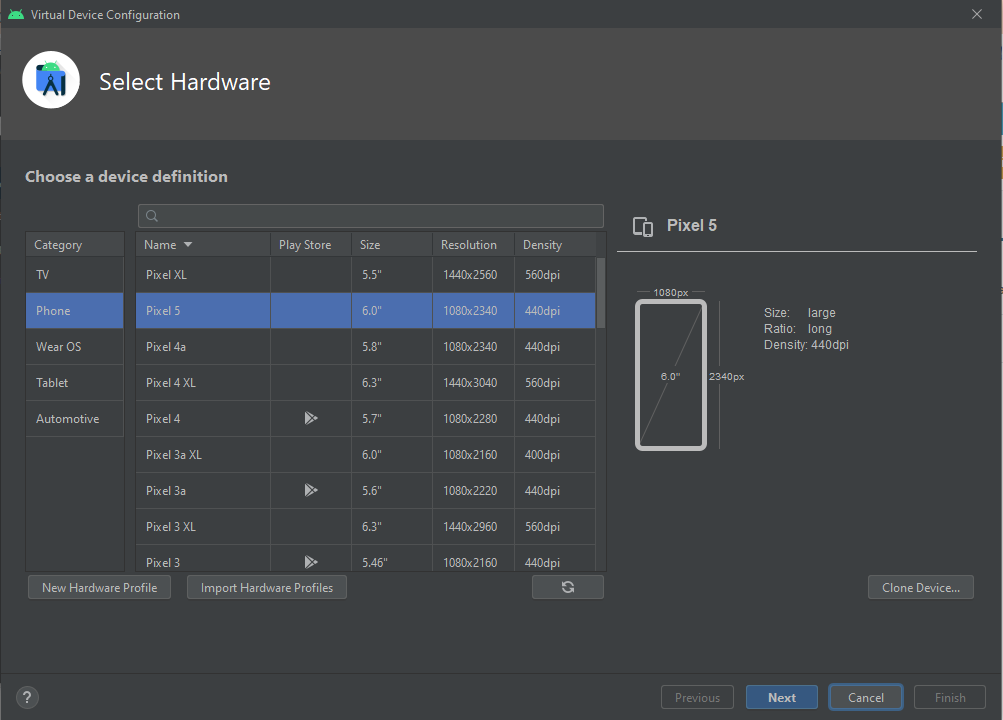
- Then, click on Create Virtual Device and download the necessary device for your project.
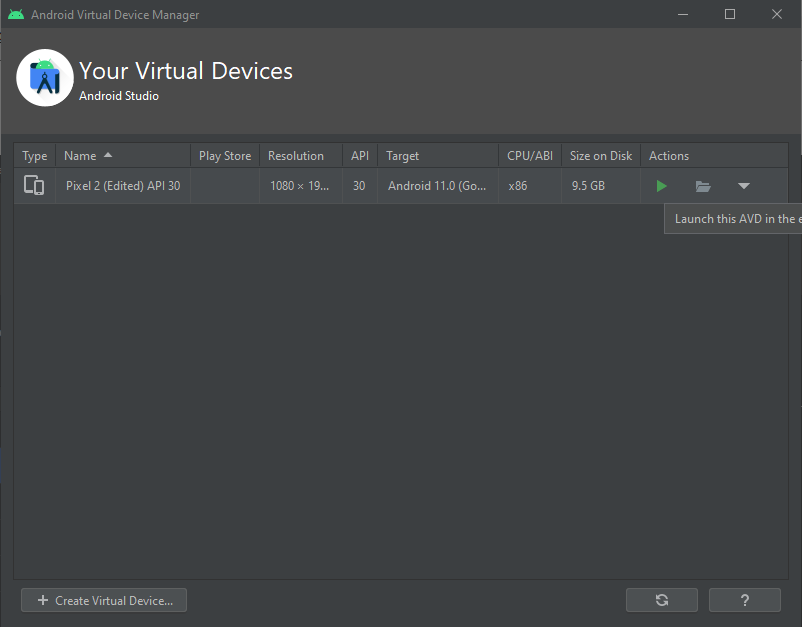
- After downloading, click on the play button that will launch the AVD.
- When AVD is launch you can run flutter in the Visual studio code terminal.
flutter run- Finally after running the code, you can now see your project on and AVD emulator.
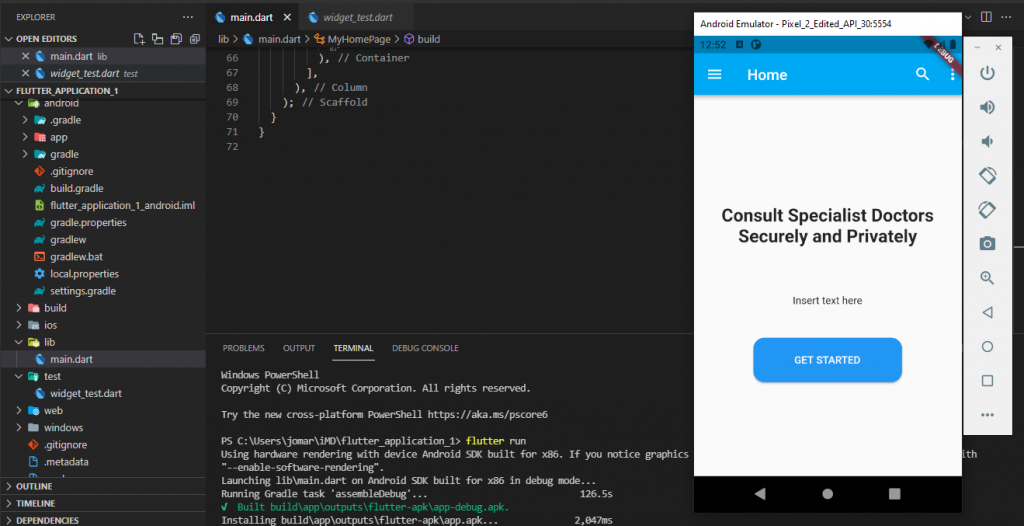
This is really helpful for the developers. It helps them to immediately visualize what they are working on the project with out running and testing all over again.