
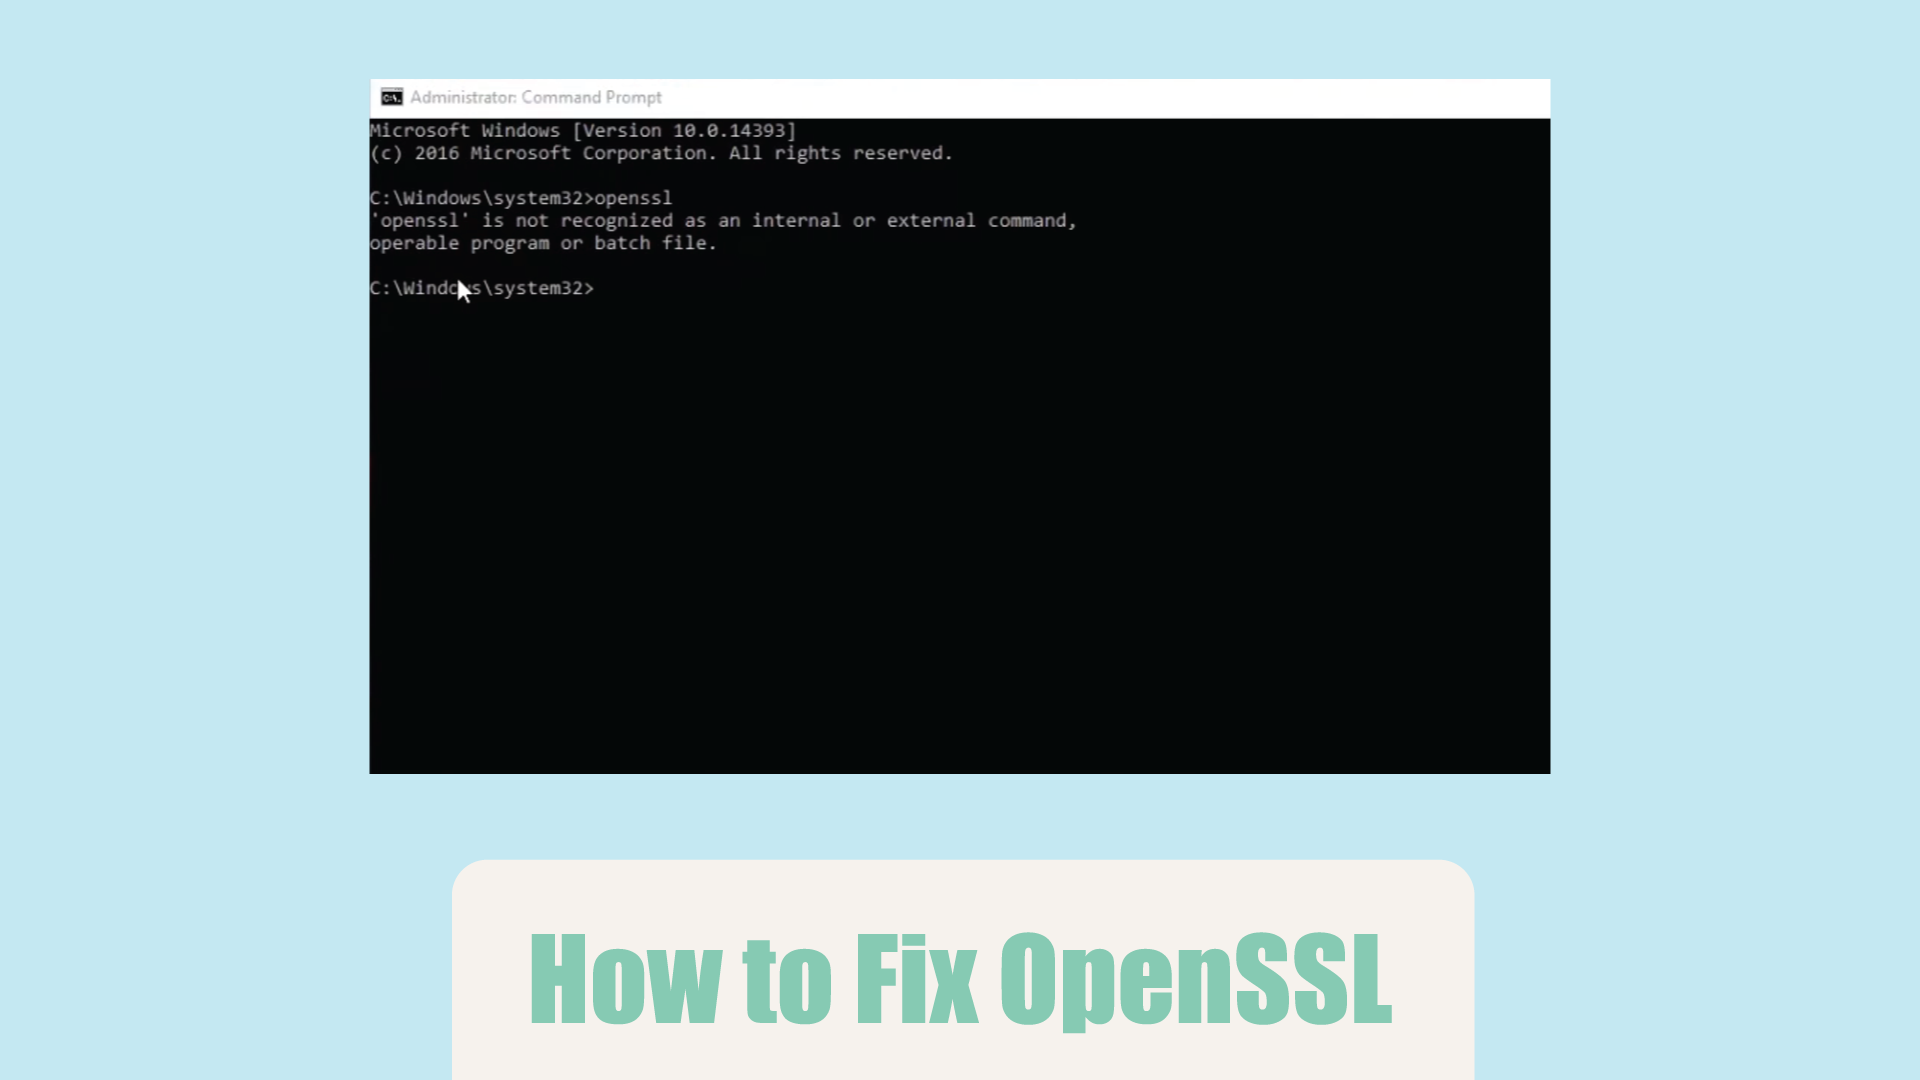
How to install OpenSSL? OpenSSL is a critical toolkit that forms the backbone of secure communication on the internet. It enables applications to encrypt data, verify digital signatures, and establish secure connections. In this blog post, we’ll guide you through the process of installing and configuring OpenSSL on your system.
Downloading OpenSSL
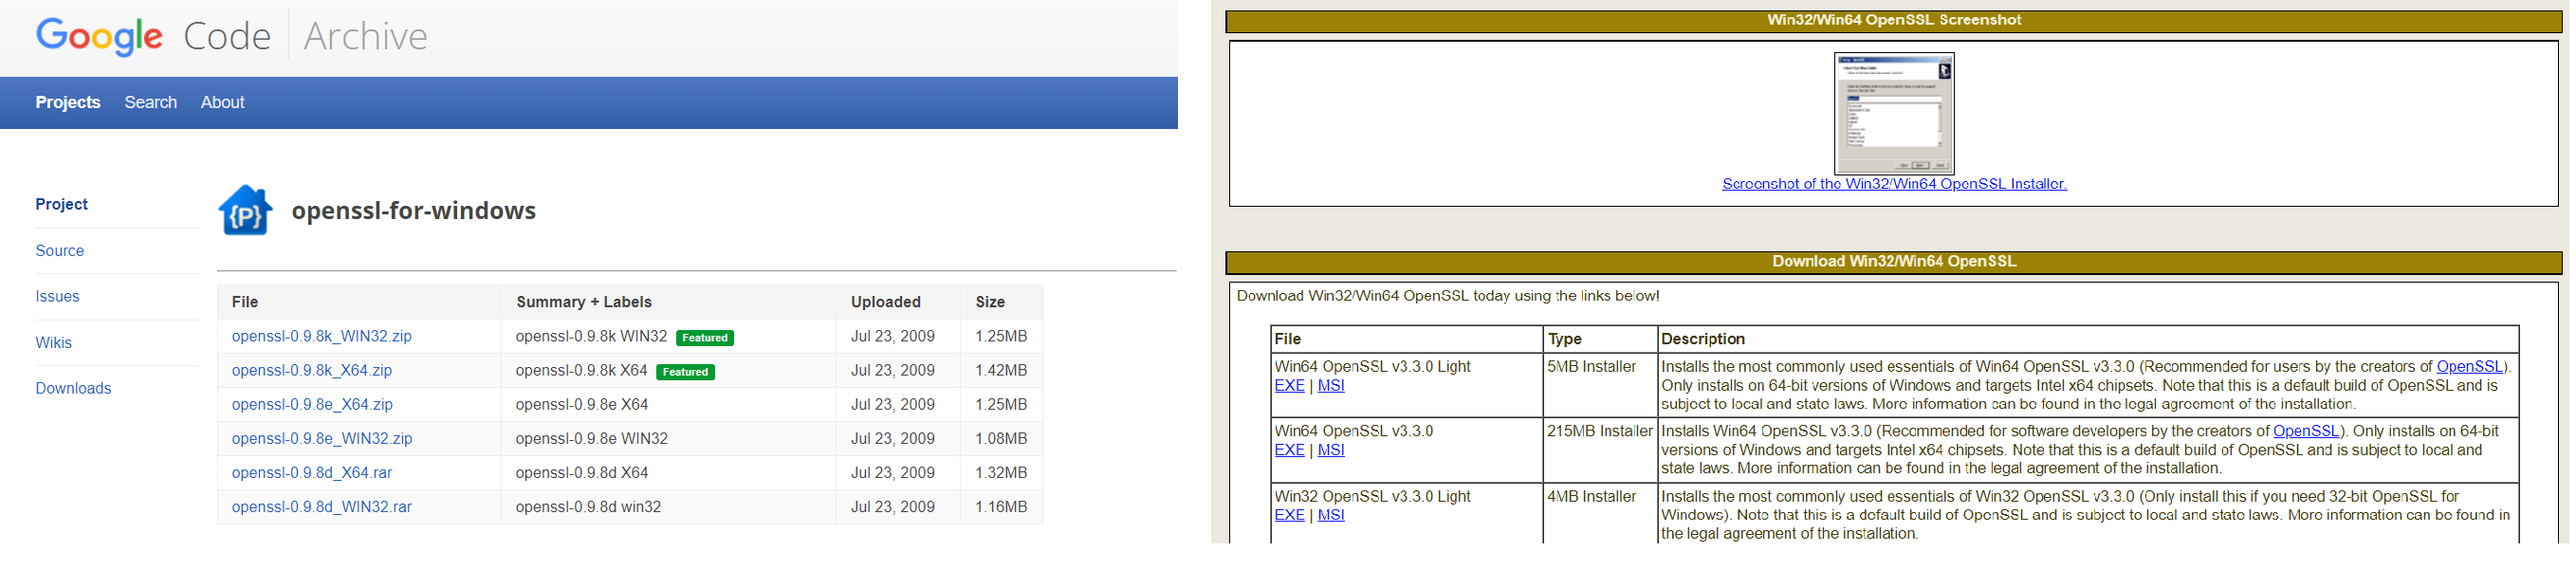
There are two primary options for downloading OpenSSL:
- Google Code Archive: This archive contains historical versions of OpenSSL. It’s helpful if you need a specific older version for compatibility purposes.
- slproweb: This website offers pre-compiled binaries for various Windows architectures (32-bit and 64-bit). It’s the recommended option for most users as it provides the latest stable version.
Important Note: When downloading and installing OpenSSL, be sure to choose the version that aligns with your system architecture (32-bit or 64-bit) to ensure compatibility.
How to install OpenSSL
Once you’ve downloaded the appropriate OpenSSL installer, follow the on-screen instructions. The installation process is typically straightforward, involving accepting license agreements and choosing an installation location. During installation, it’s recommended to add OpenSSL to your system path. This will allow you to easily access OpenSSL commands from the command prompt.
Configuring Environment Variables
For easy access to OpenSSL commands from the command prompt, you’ll need to edit your system environment variables. Here’s a general breakdown of the steps involved (specific instructions may vary depending on your operating system):

- Access Environment Variables: This process differs slightly between operating systems. You’ll typically find it within your system settings or control panel.
- Find Path Variable: Locate the system environment variable named “Path”.
- Add OpenSSL Path: Click “Edit” on the Path variable. Then, navigate to the installation directory of OpenSSL and copy the path to the “bin” folder (e.g.,
C:\OpenSSL\bin). Paste this path into the Path variable editor, ensuring it’s separated by a semicolon from existing entries. - Save Changes: After adding the path, save the changes to your environment variables.
Restart Required: For the changes to environment variables to take effect, you’ll typically need to restart your computer.
Testing Your Installation
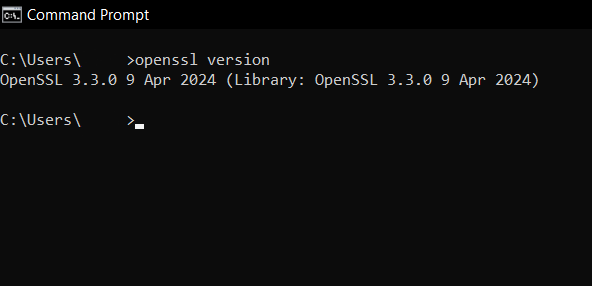
Once you’ve restarted your computer, open a command prompt window. You can then verify your OpenSSL installation by typing the following command and pressing:
open ssl versionIf the command executes successfully, it should display the installed OpenSSL version information. Congratulations! You’ve successfully installed and configured OpenSSL on your system. By following these steps, you’ll have OpenSSL up and running on your system, enabling you to leverage secure connections and data encryption for your applications.