Flutter is Google’s UI toolkit for building beautiful, natively compiled applications for mobile, web, desktop, and embedded devices from a single codebase. This guide will show us how to correctly set up our Windows PC so that we may run a Windows desktop application.
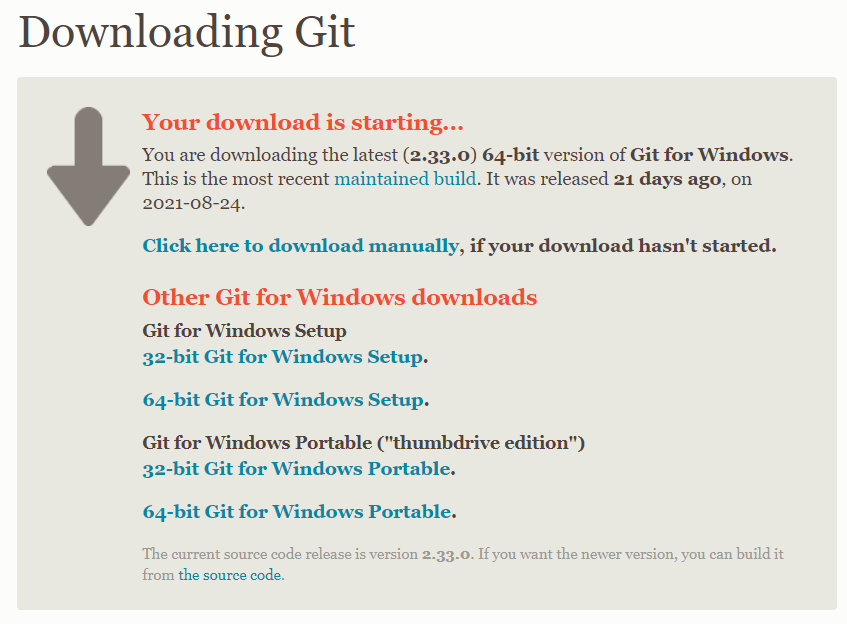
- Install Git for Windows
2. Install Flutter via Git with dynamic version. Open Windows Powershell and type:
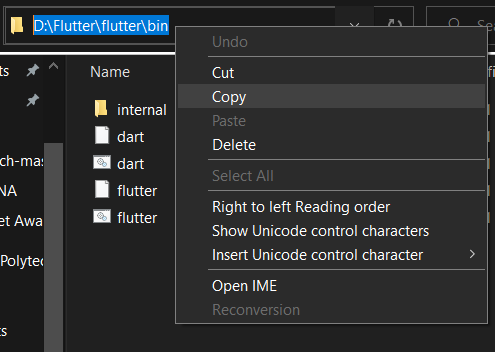
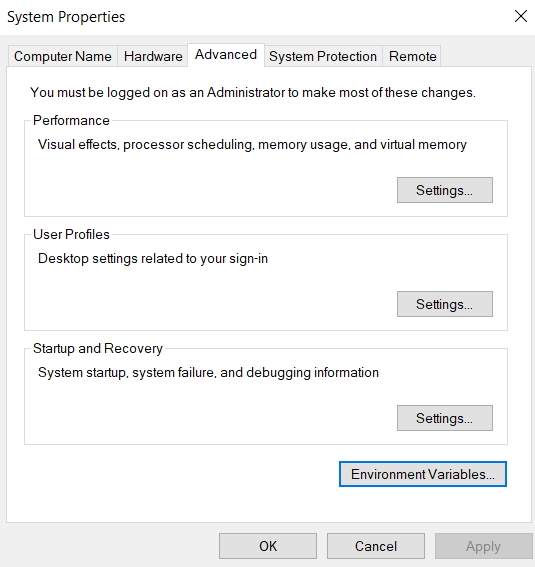
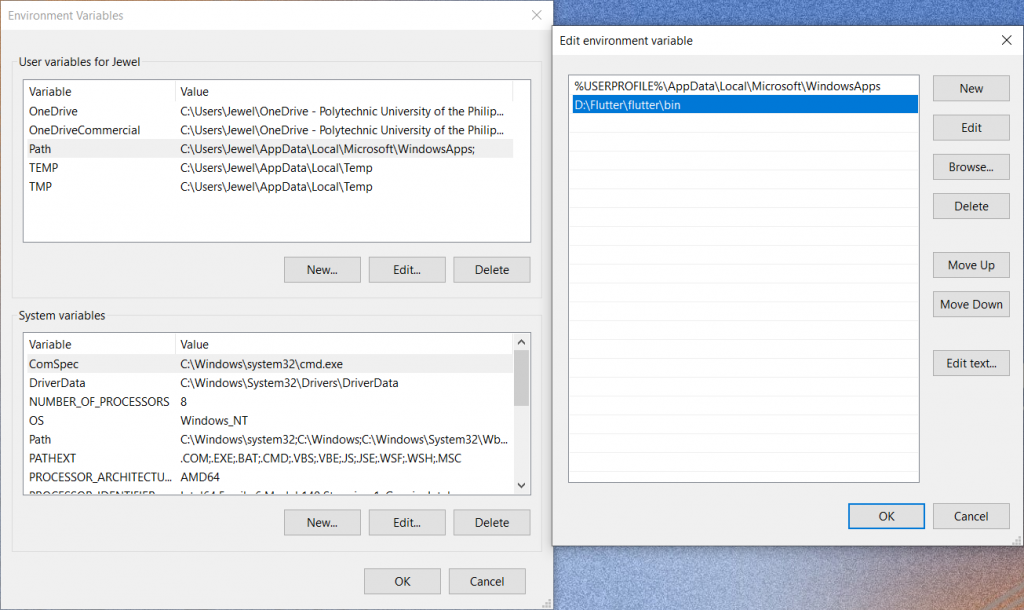
git clone https://github.com/flutter/flutter.git -b stable3. Adding the System Environment Variables and Flutter Doctor.

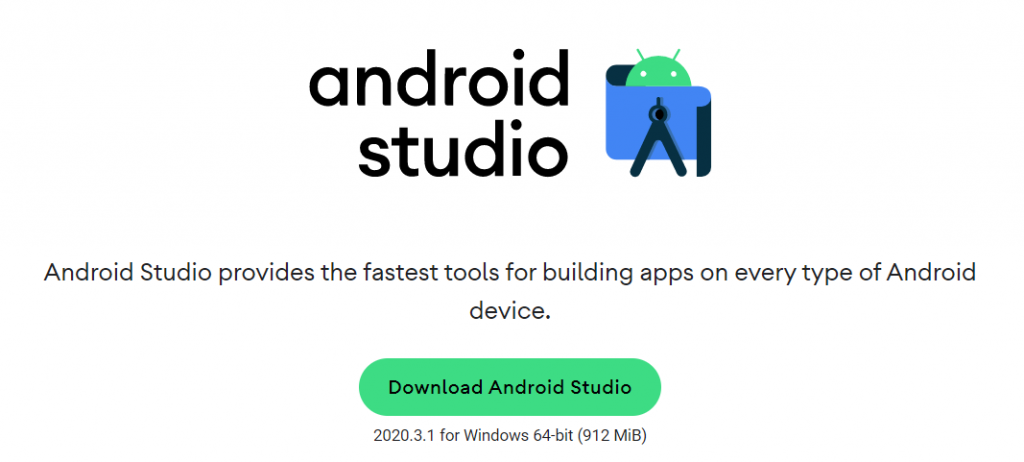
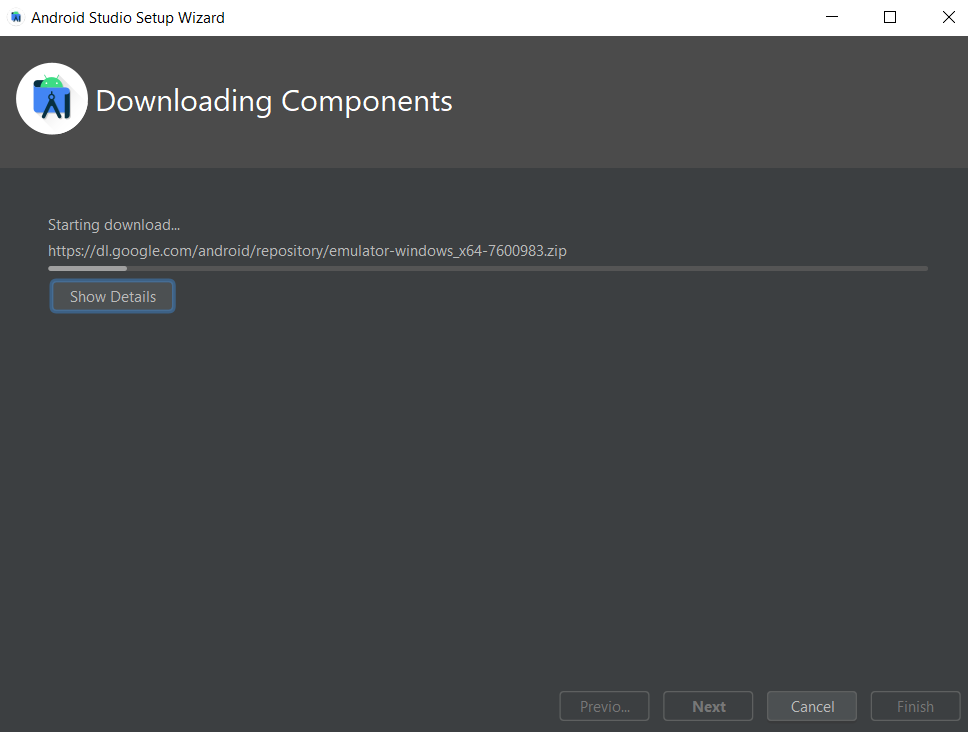
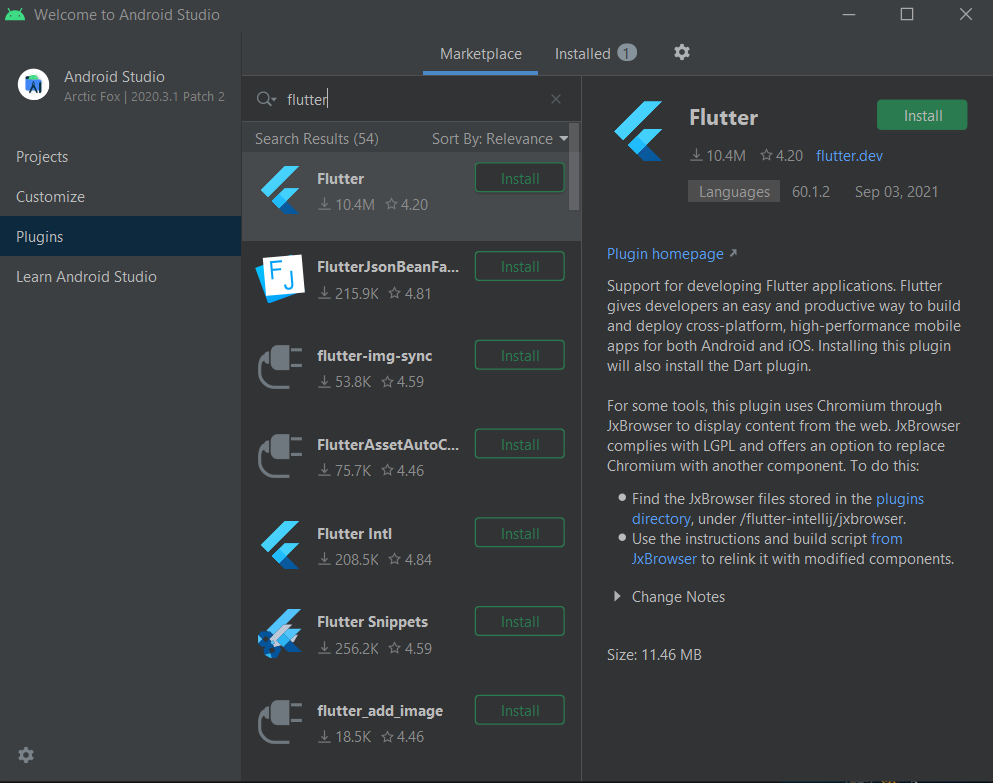
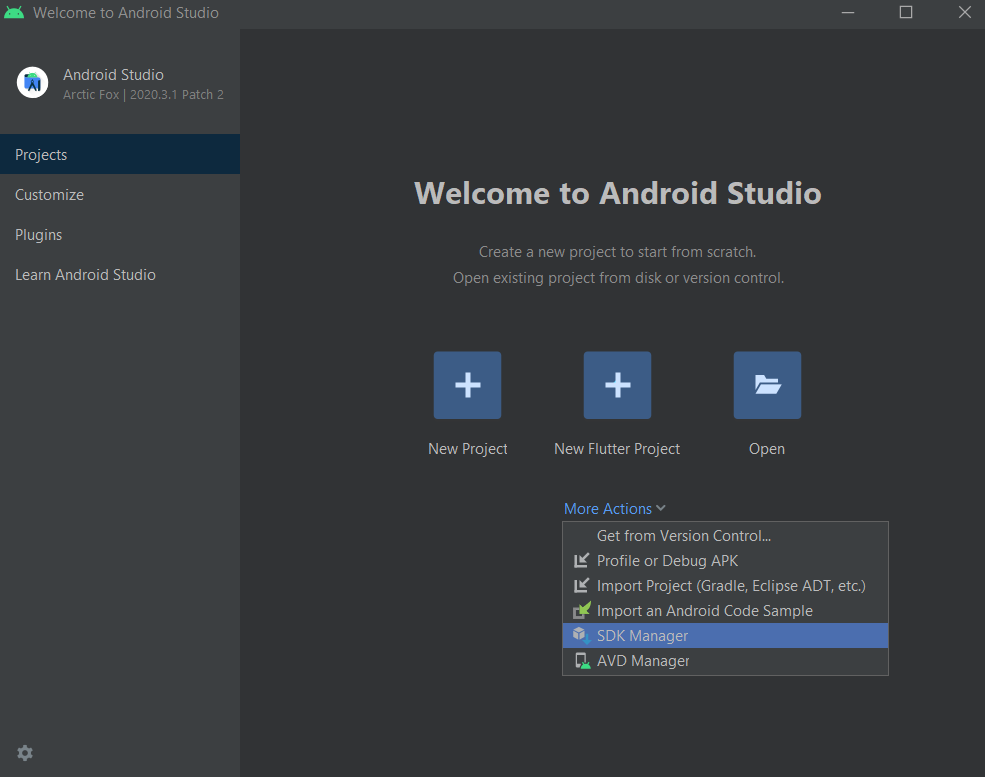
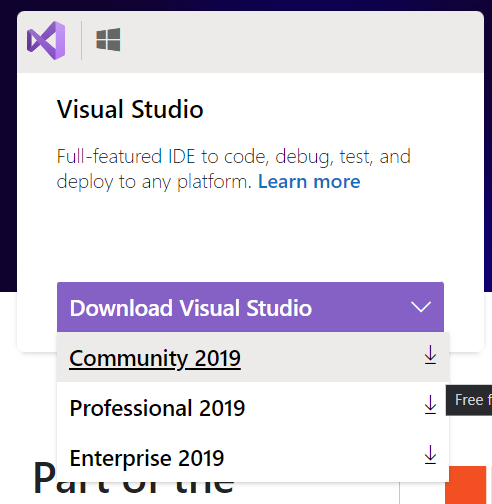
4. Install Android Studio
5. Configure Flutter Windows Desktop. Open Windows Powershell and type:
flutterSwitch to flutter channel ‘master’:
flutter channel masterupgrade:
flutter configCurrently, there are no configurations set. At the command line, perform the following command to enable Win32 desktop support:
flutter config --enable-windows-desktopIf we run flutter config once more, we should see this:

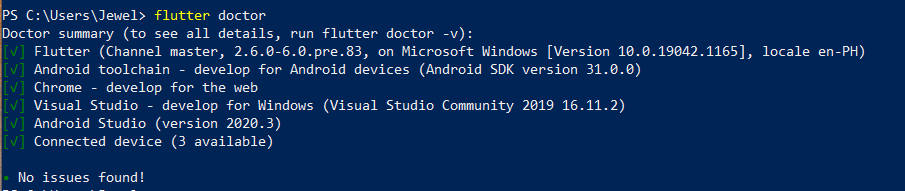
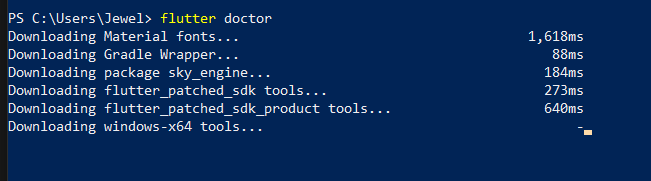
After that, execute flutter doctor once more to download all necessary packages. As you can see, we encounter multiple issues:
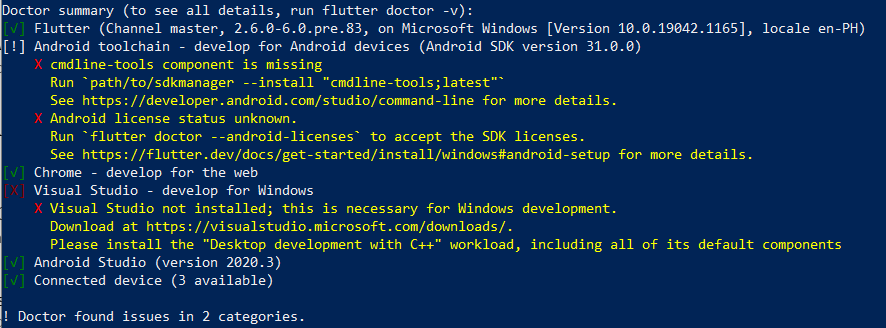
1st issue: cmdline-tools components is missing
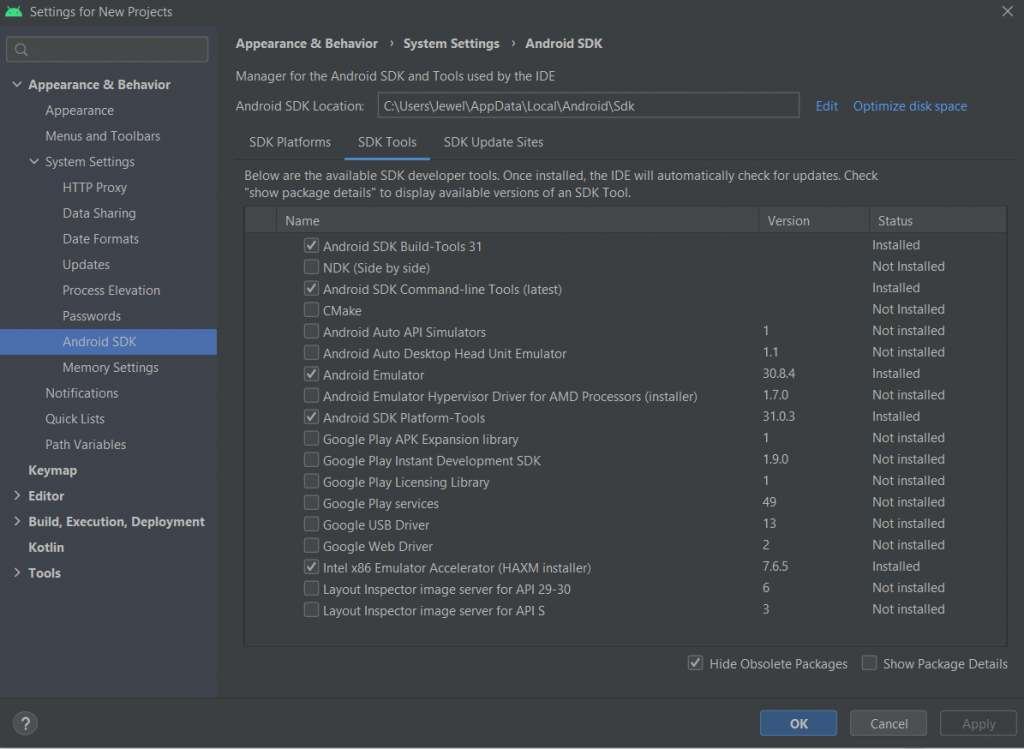
2nd issue: Android license status unknown
In Windows powershell, run:
flutter doctor --android-licensesand then accept all licenses.
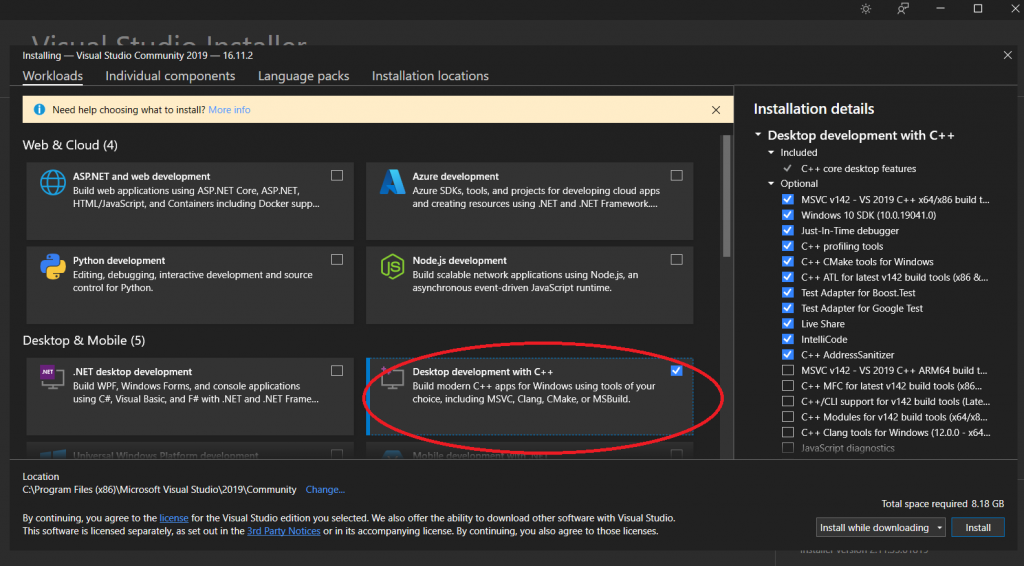
3rd issue: Visual Studio – develop for Windows
6. Run flutter doctor one last time to check if there are still issues.