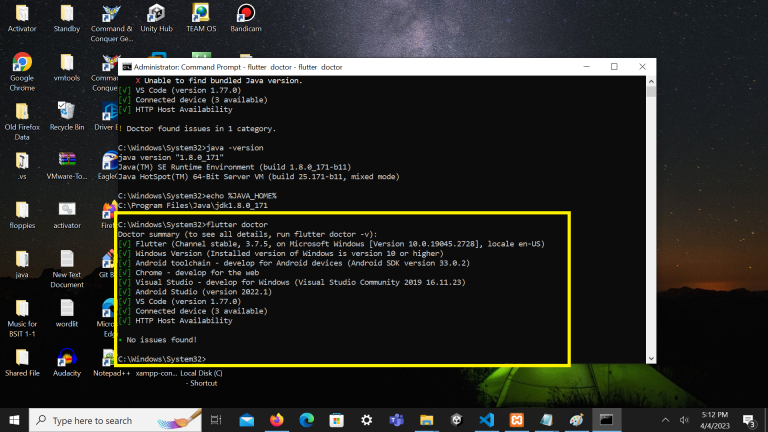
Problem:
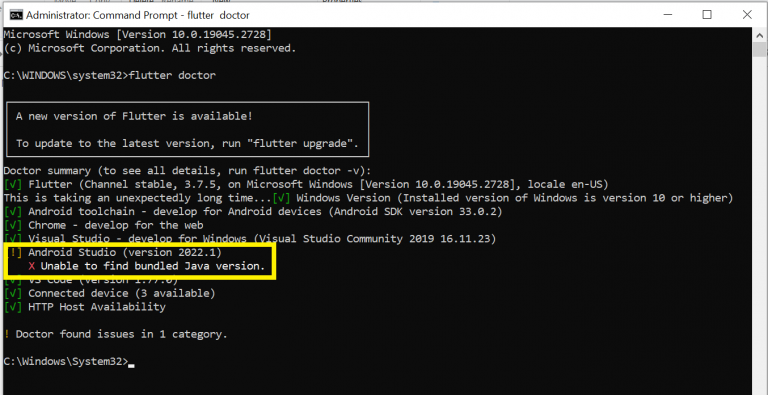
Cause: If you run “flutter doctor” on your terminal and you see something similar to the screenshot below, Java cannot be found on your system and is the cause of this error.
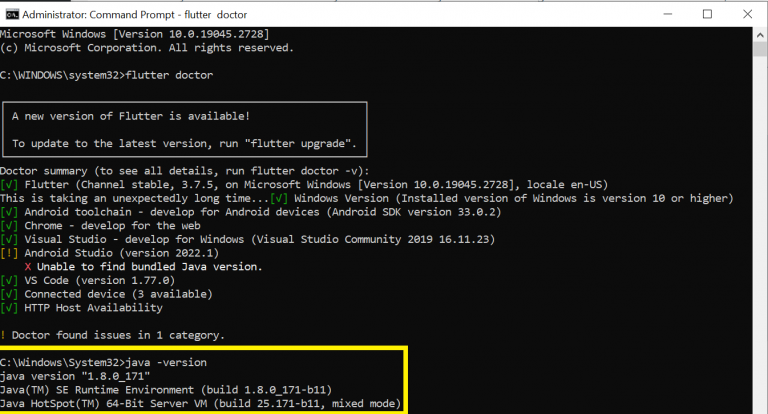
1. To fix this kind of Error you must check first the java and jdk version. If you have already installed java in your pc or laptop. Run this command java -version and echo %JAVA_HOME% on command prompt.
Command: java -version
Command: echo %JAVA_HOME%
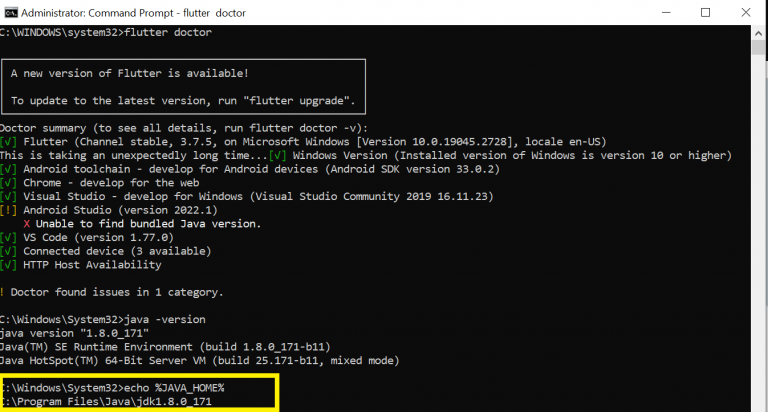
If the version shows in the command for java and jdk in your pc or laptop is the same proceed to the step 2.
2. Check the System Environment Variables
- To Access the Environment Variables, use search bar on the windows and search System Environment Variable
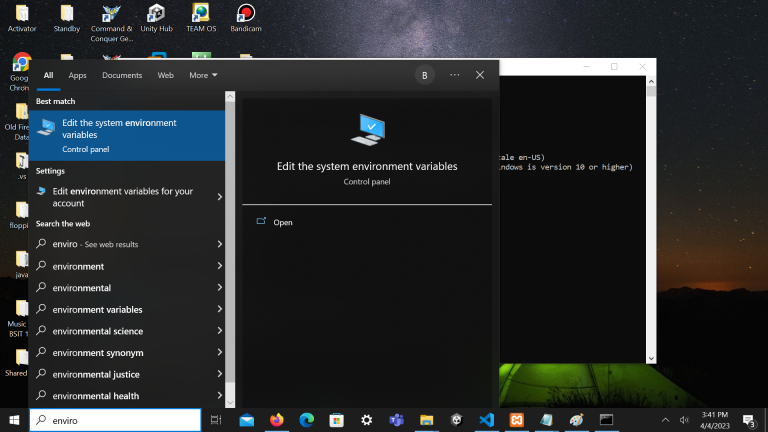
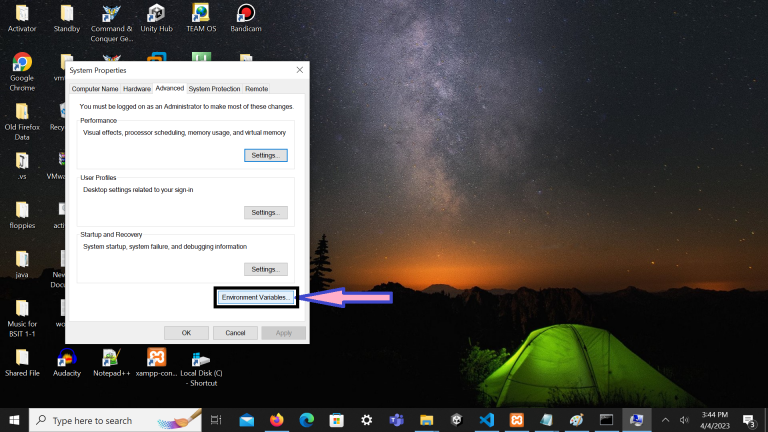
- Click the Edit System Environment Variables after that click the button Environment Variables..
- Click JAVA_HOME Enviroment Variable on system environment.
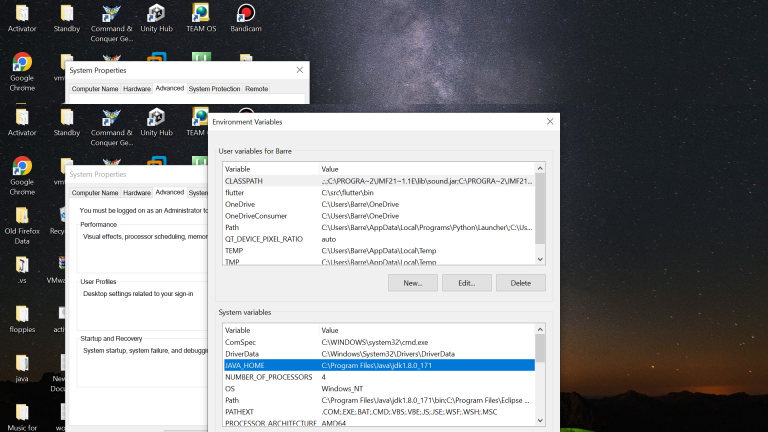
Check if the jdk version on your pc or laptop is the same on the JAVA_HOME Environment Variables. Now if it is still the same click the Path on the System Variables.
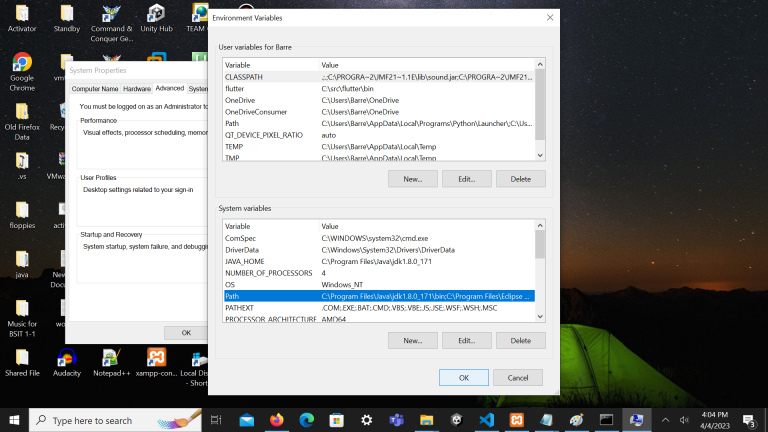
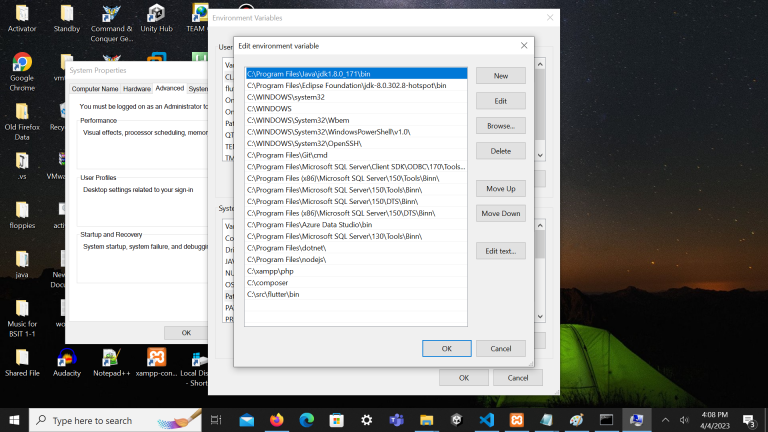
How about if you have not already set the Environment Variable JAVA_HOME in your pc or laptop. You can learn how to set up this environment variables on https://confluence.atlassian.com/doc/setting-the-java_home-variable-in-windows-8895.html
Even the system JAVA_HOME Environment Variable of your is the same with the jdk version on your system and still not detected you must try the step 3.
3. Goes to Local Disk C and browse the Program Files and follow this following steps:
- First, right-click the Android Studio icon and open the file directory(location). Your installation folder should be at “C:\Program Files\Android\Android Studio”.
- When you are already at the Android Studio installation root folder, you will see two folders: “jbr” and “jre“.
- Copy all the files inside the “jbr” folder to the “jre” folder, then try it again.
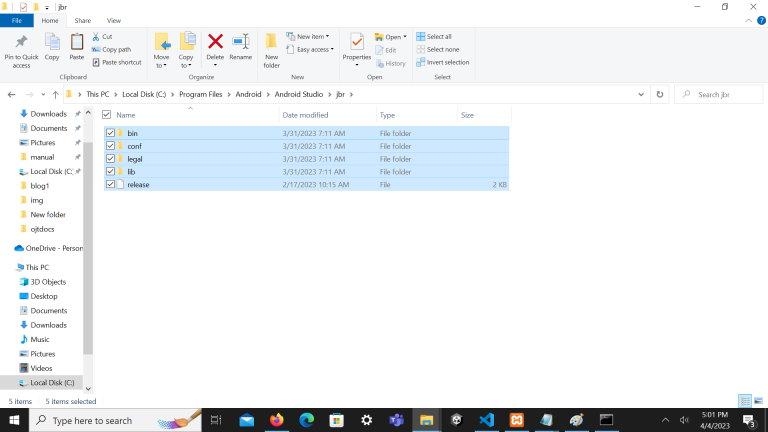
Paste the files from jbr in jre
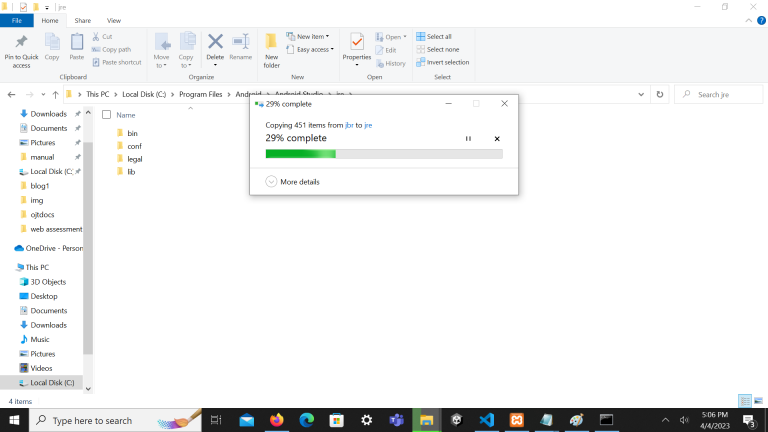
Run again the flutter doctor command
