
Are you ready to take your Odoo customization skills to the next level? One powerful way to tailor your Odoo experience is by creating custom pages. Whether you need a specialized dashboard, a unique report, or a personalized workflow, custom pages can make Odoo work exactly the way you want it to.
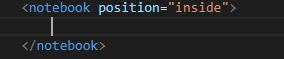
Step 1: Declare the Notebook Tag
To begin, you’ll want to declare the notebook tag in your Odoo module. This tag acts as a container for your page content. Specify its position as inside to ensure it appears within the desired view.
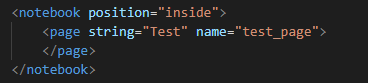
Step 2: Define Your Custom Page
To define your custom page in Odoo, you’ll work within the <page> tag. This tag serves as the blueprint for the layout and content of your page.
Step 3: Update your Custom Module
Now that we’ve defined our page. Let’s now see if it works, but first, it’s important to update your custom module beforehand by going to Apps > Update App List
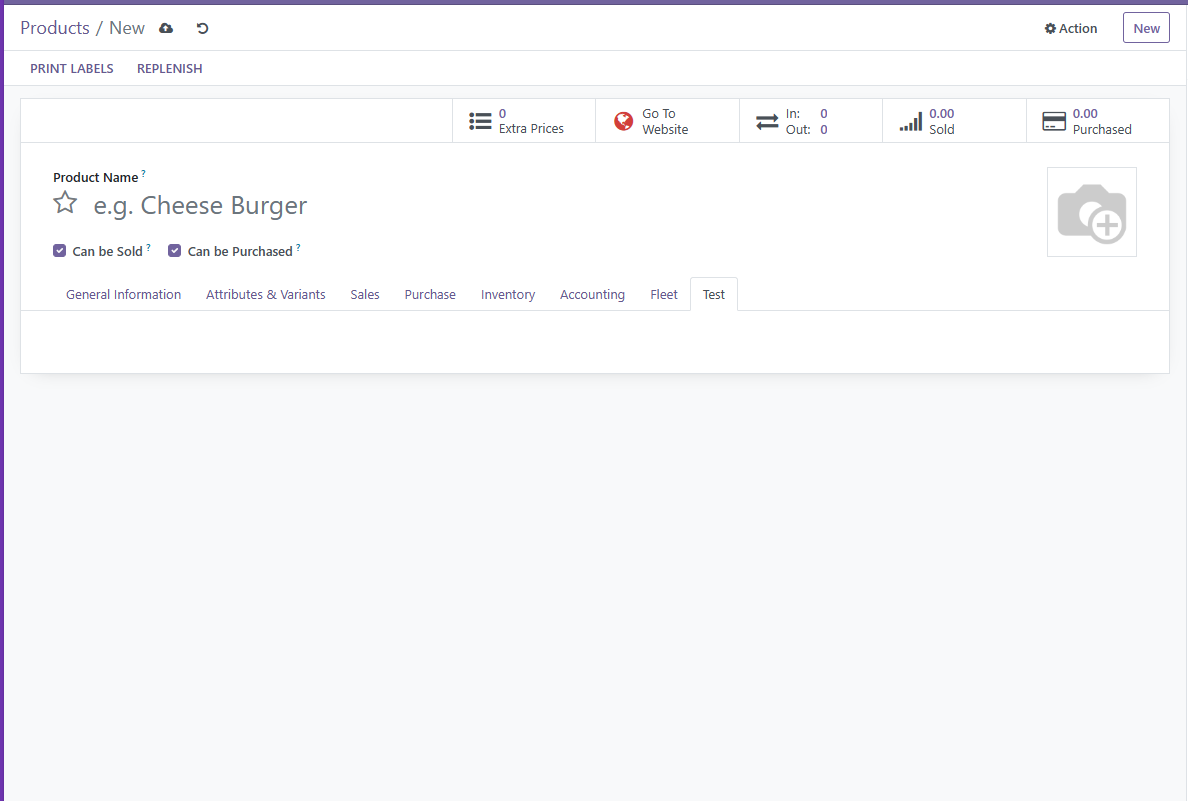
We have now successfully created another page. Now all that’s left is to insert any custom fields that you may have created. Happy Coding!