
Do you want to know how to test the performance of your graphics card? It’s an excellent question. After all, you just paid a lot of money for an NVIDIA or AMD GPU, so why not let it fly and see what it’s capable of?
You could, of course, ignore the dangerously addictive rabbit hole of frame rates and clock speeds and focus on the reason you bought the card in the first place (having fun playing games), but where’s the fun in that?
Benchmarks are a fun way to compare your rig to others’, and they can also be used to help you tweak and tinker with your GPU to ensure it’s performing at its best. It’s akin to testing a car’s performance on a track before tinkering with its engine to extract every last ounce of power.
It may appear intimidating, but it is not. You still don’t believe us? Fine. We’ll show you, but first, let’s go over what a GPU benchmark is and how to use one.
Why should you test your GPU?
GPU benchmarks are a great way to see how your graphics card performs under load because they run a number of intensive graphical tests on it. Running a benchmark for a few hours can give you confidence that your GPU is stable if you’ve built your own rig or overclocked your graphics card to get more performance.
Running benchmarks can detect any problems early on, which is ideal if you’re in the middle of a game and your graphics card fails. You’re good to go if it can run them for a couple of hours without issue. You can start figuring out what’s wrong if there are crashes, artifacts, or other graphical glitches.
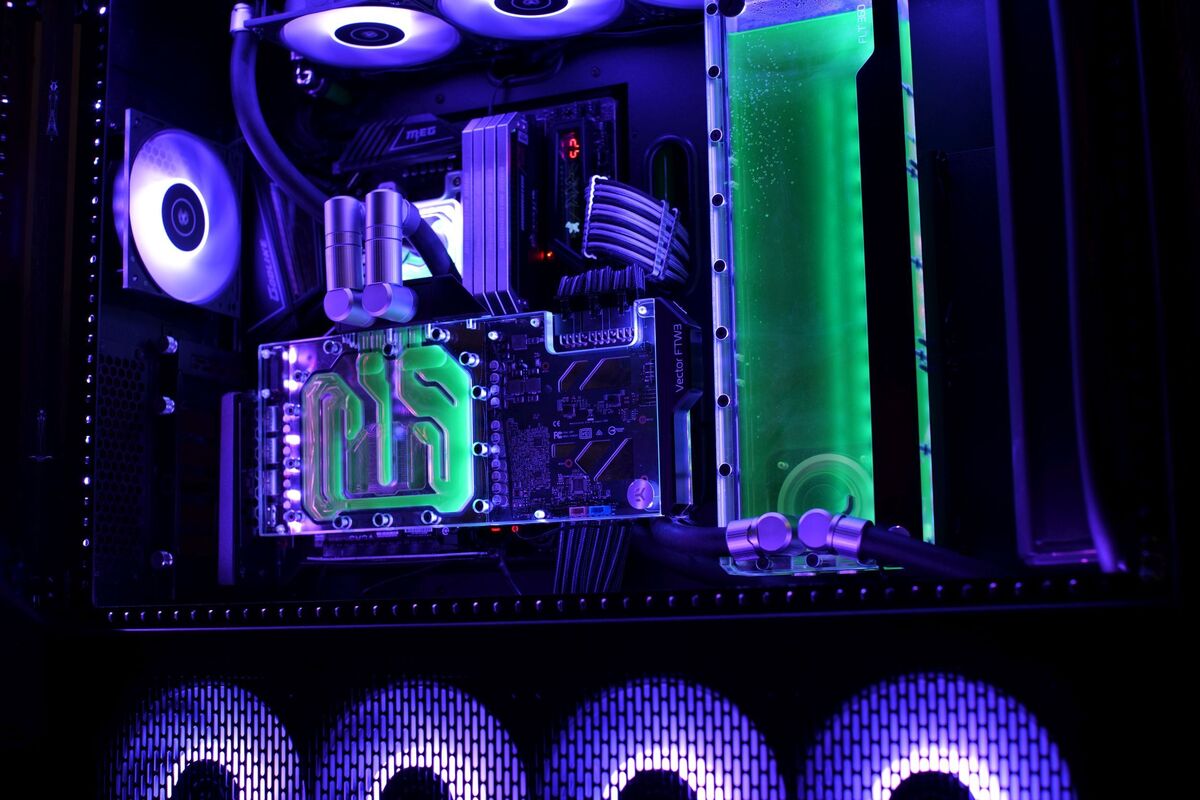
A GPU getting too hot is one of the most likely causes, so if your graphics card fails to run a benchmark, make sure it’s getting plenty of fresh air.
But first, here’s why you should benchmark your graphics card even if you’re not aiming for the top of the competitive overclocking rankings:
- To get a baseline performance metric that you can compare to other standard results to see if your GPU is performing as it should.
- To be able to compare the performance of your current PC to future hardware upgrades. What kind of performance boost will you get if you buy a new graphics card? You’ll know now!
- To check for stability and other important factors such as thermals, clock speeds, and so on.
First, check for temperature and stability.
Let’s start with vitals and stability. It’s uncommon, but a graphics card can be defective right out of the box. This could indicate a dead card, but it’s more likely that you’ll see “artifacts,” which are basically image flaws, flickering, or even pulsating colors.
Unigine Heaven 4.0 will be the first program we’ll use. It’s free for personal use and runs in a loop to create a graphical environment that makes the most of your GPU. The first order of business is to ensure that your graphics card can run without shutting down or displaying any strange graphical glitches, so let it run Heaven for at least 30 minutes to allow the GPU to warm up.
If everything appears to be in order, keep an eye on the vitals, which will be displayed in the top right corner alongside your GPU information.
The first and most important parameter is temperature, which can indicate a variety of problems with your hardware and case airflow. If your GPU reaches its maximum temperature limit quickly, it could be due to a rare (but possible) issue with its thermal paste, or (more likely) restricted airflow in your case due to insufficient clearance for the fans to get cool air.
The GDDR6X memory temperatures of Nvidia’s GeForce RTX 3090 Founders Edition are a good example of recent issues. Without stress-testing the GPU, you’d never know that the memory can approach the VRAM temperature limit, potentially throttling your performance. (Some people have reported significant improvements after updating their thermal pads.)