
Tinkercad is a user-friendly, web-based platform that allows users to design, simulate, and program their own electronic projects using the Arduino microcontroller. With Tinkercad, you can easily create circuit designs and program your Arduino to control lights, motors, and other components. In this two-part guide, you will learn how to use Tinkercad to create your very own Arduino project.
This is a two-part guide for using Tinkercad to create your very own Arduino project.
The first part of the guide is all about account creation for new users. If you already have an account, please proceed to the second part of this guide.
Part 1: Account Creation
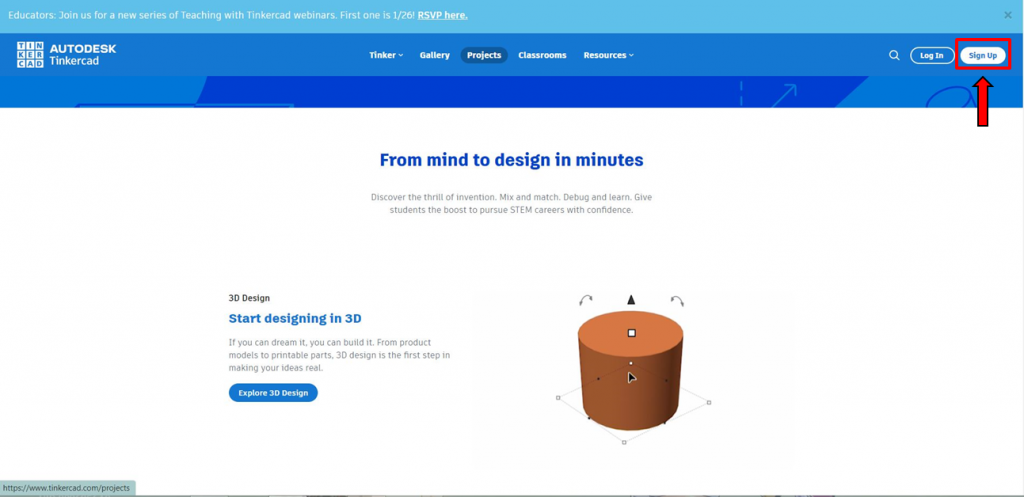
- To create you account, go to this link https://www.tinkercad.com/ and click sign up.
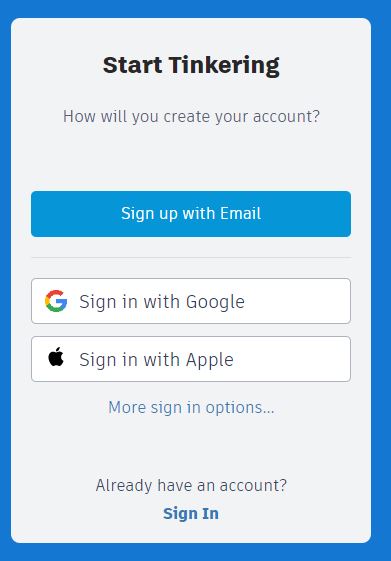
2. Choose what type of account you want.

3. Decide on how will you create your account.
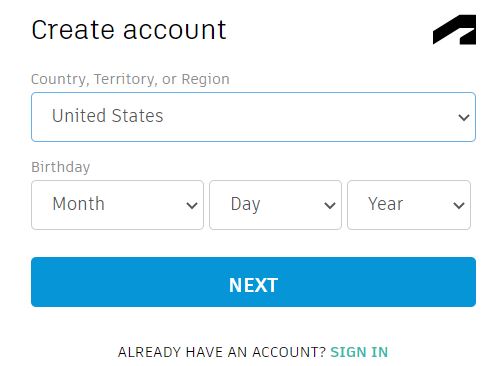
4. Enter your personal details and click next.
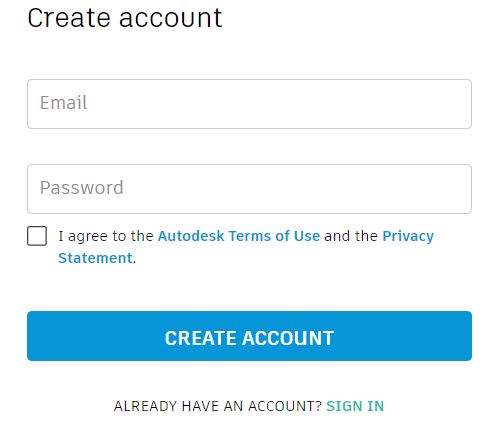
5. Enter a valid email and password and accept the Autodesk Terms of Use and Privacy Statement before clicking create account.
Part 2: Creating and Programming your First Arduino Project
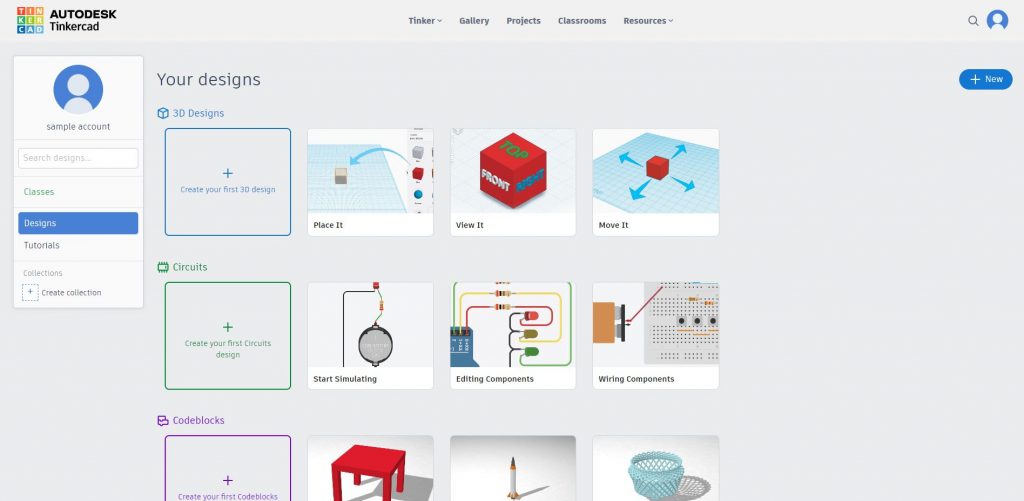
- After successfully creating your account, you will be redirected to this page. Click “Create your first Circuits design”.
2. This will be your workspace. Everything you will need is presented in this page. The components can be found on the right side and to use one, simply drag and drop it to your workspace. The tools on the upper left can be used to add labels and adjust the color of the wires and adjust orientation of the components.

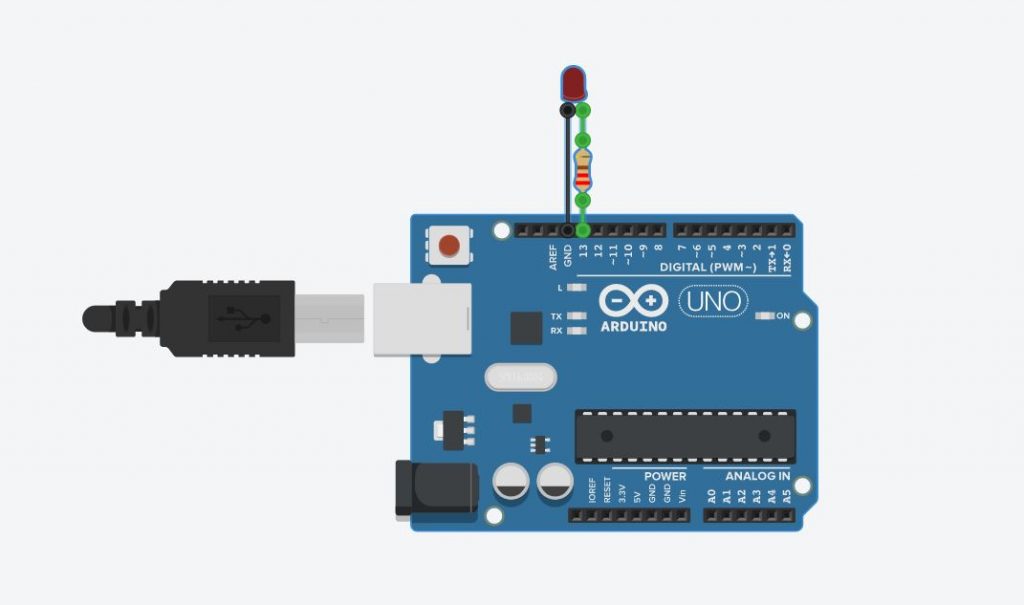
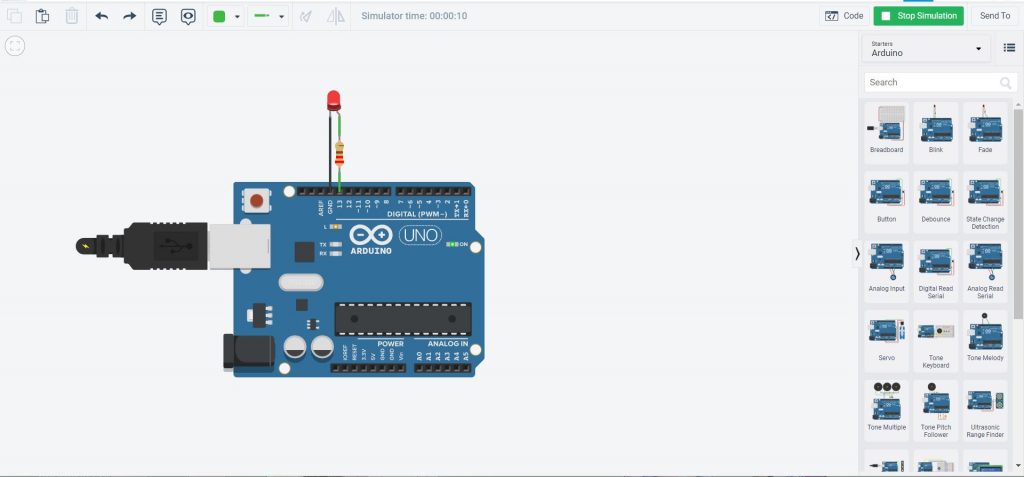
3. This is a sample circuit with blinking LED created using Arduino uno. In this circuit, the LED has 1 second delay between each blink. The code block for this circuit is presented on the next step.
4. After creating your circuit, click the code on the upper right to access the options for coding your project.
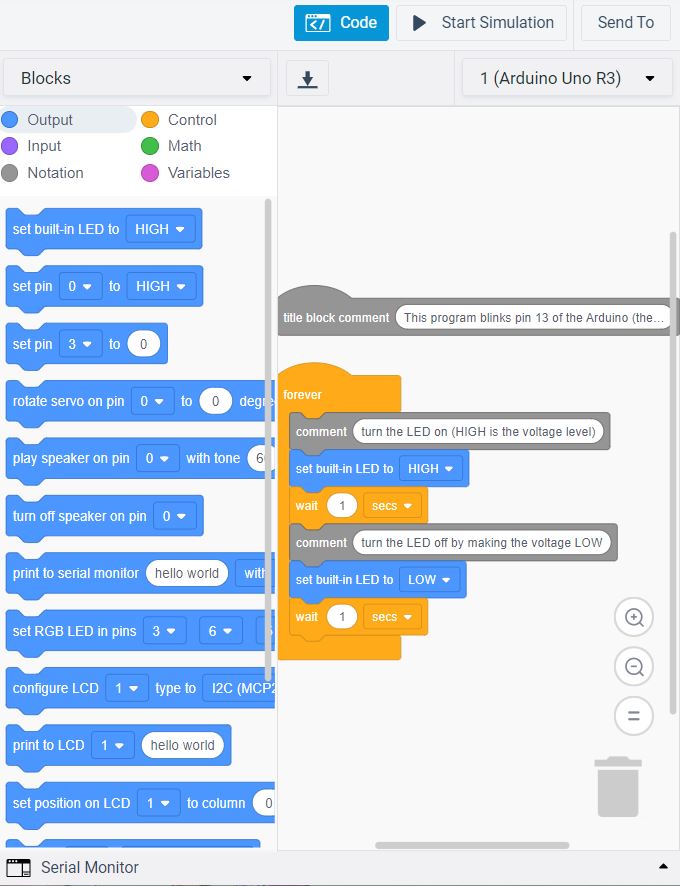
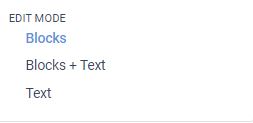
5. You can also choose how will you write your code by simply clicking the drop down icon for “Blocks”. You can choose whether to write your code using blocks or text. If you do not have enough knowledge when it comes to coding, you can choose blocks to write code for your circuit.
6. After you are done with your code, you can run the simulation by clicking the “Start Simulation” found on the upper right of the screen to check if the circuit will run the way you intended it to.
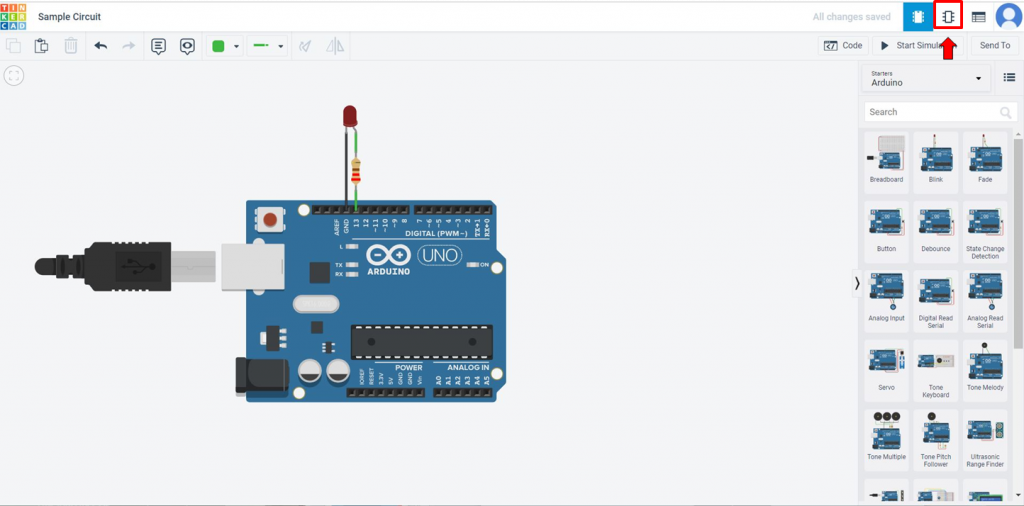
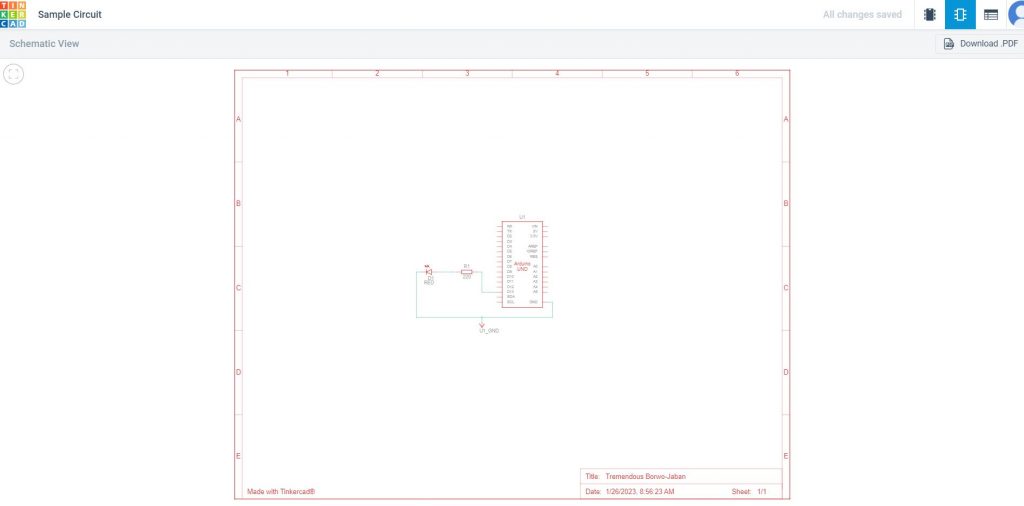
You can also view the schematic diagram for your circuit by clicking the schematic view.
Lastly, if you want to see the list of all the components used in the created circuit, click the component list.


By following these steps, you’ll be able to get started with Tinkercad and create your own circuit designs. Tinkercad is a powerful tool, and with practice, you’ll be able to create more complex designs.